|

|
For the purpose of this project, our team decided to work on the three following projects:
For our first project we implemented 'Poor Man's Augmented Reality' where we captured a video at home and inserted a synthetic object into the scene.
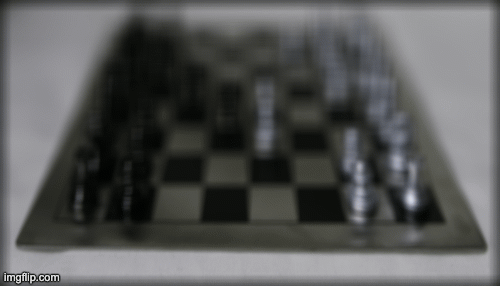
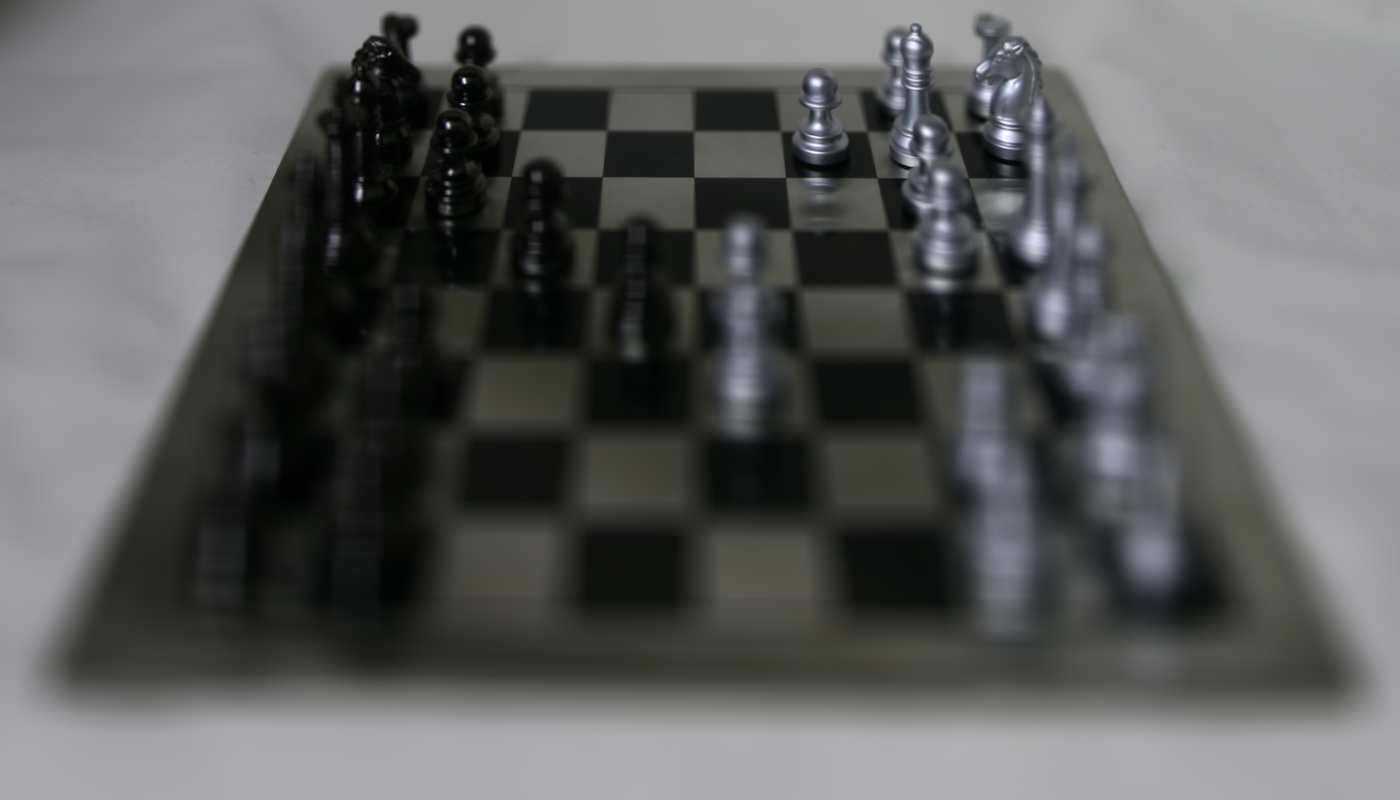
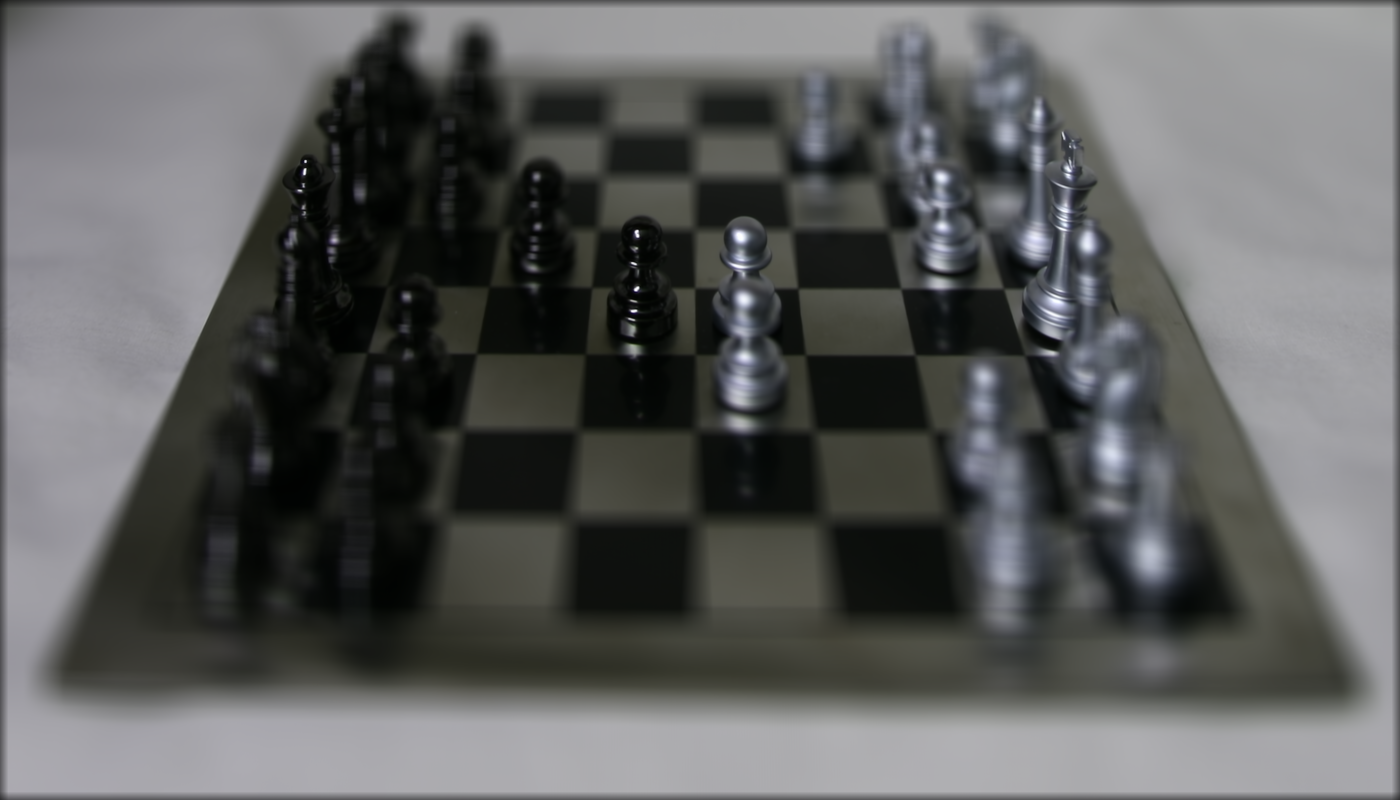
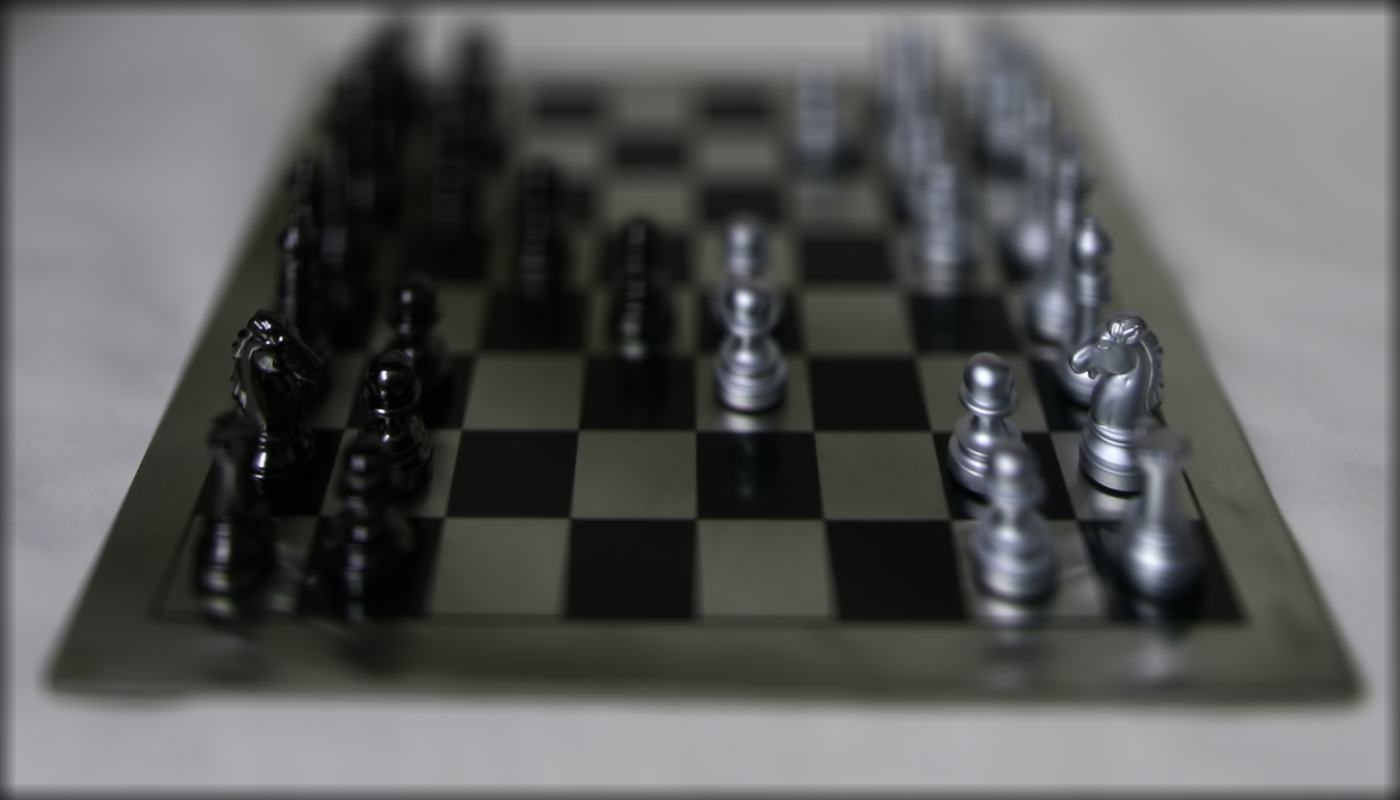
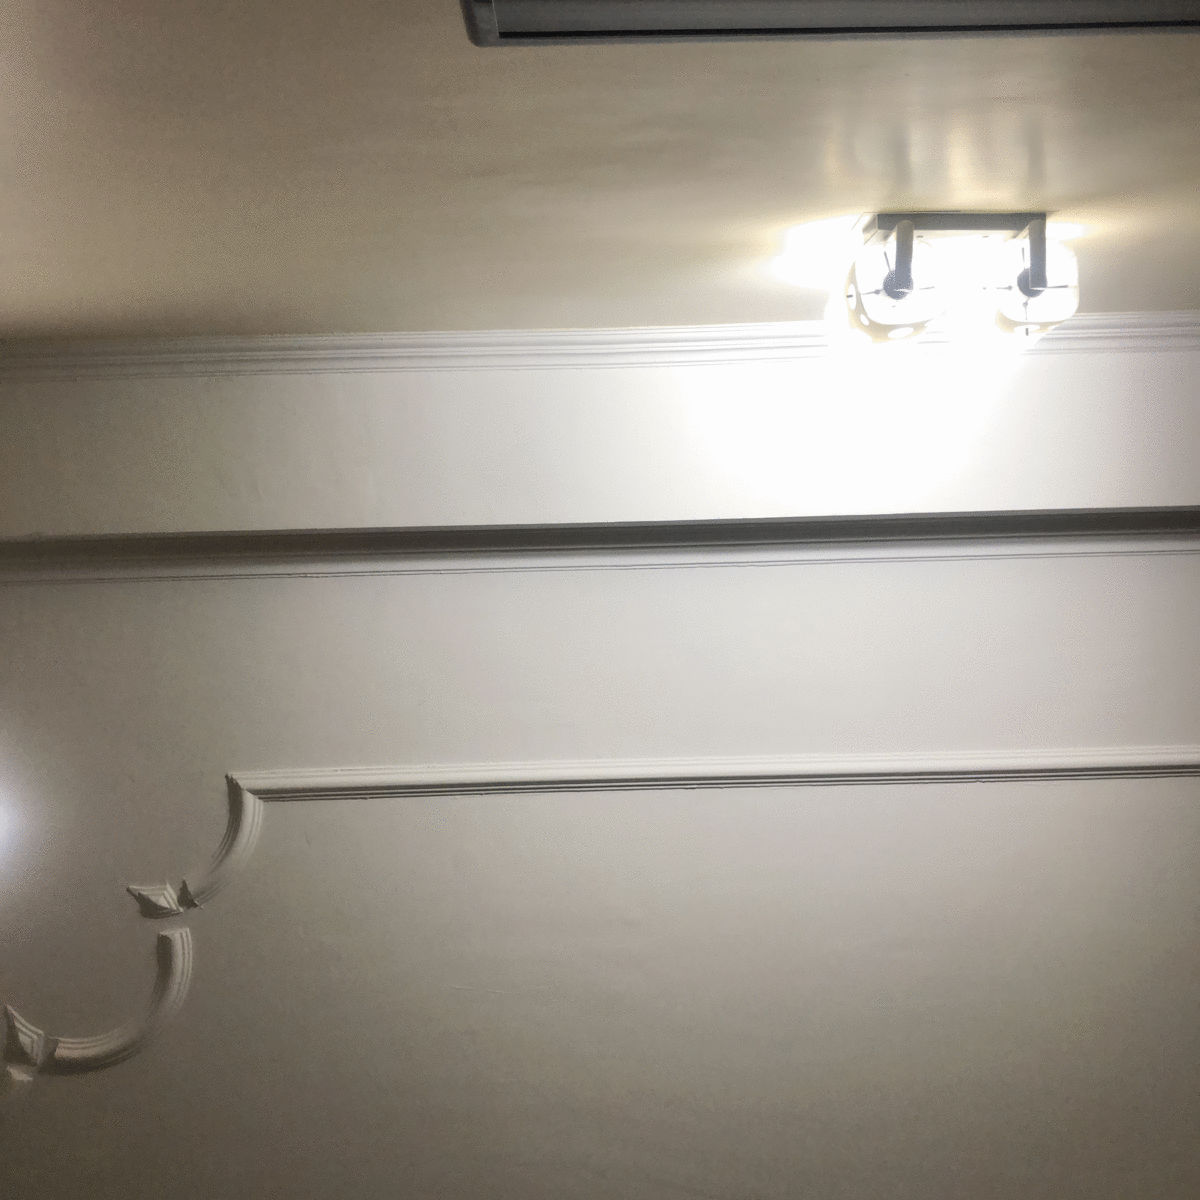
To start us off, we built this physical rectangular box and marked it with a regular grid pattern. We filmed an input video with different perspectives of the box as seen below.
Next, we marked the points in the first frame of our video and got their 3D world points. In order to do this we measured the dimensions of the box and of consecutive points in the pattern. Then, we centered the 3D world coordinates around the center of the box.
Using OpenCV tracker, we then kept track of the points identified in the first frame through the consecutive frames of the video. We used a bounding box of 20x20 pixels in order to achieve this successfully. We used the CSRT tracker instead of the Median Flow as the median flow tracker would result in larger and larger bounding boxes.
With the corresponding points and the 3D world coordinates, we were able to use a 3x4 projection matrix on each frame to project the 4 dimensional real world, homogenous coordinates to 3 dimensional image homogenous coordinates. Below, you can see a projection of the origin and axes:
Finally, we used the draw function on the image matrices defined above. Below you can see a cube projected as such.
Our next project is an implementation of lightfield camera. This project takes inspiration from the idea of this paper) by Ng et al. which demonstrates that capturing multiple images over a plane orthogonal to the optical axis enables achieving complex effects using very simple operations like shifting and averaging. We attempted to reproduce these effects using real lightfield data.
|
|
|
First, we worked on a depth refocus effect. Here, we shifted the images sequentially and averaged them to allow a focus on the same object at different depth levels.
We used all the grid images in the dataset to generate these refocussed depth images. Given a series of images taken at the same optical axis direction, the objects that are further away vary in position whereas nearer objects do not (vary very little). Averaging then blurs nearby images and focusses on further images. Shifting before averaging allows different parts of the picture to be put in focus.
Below is the example of shifting the image at (x, y) around the center by (x-8, 8-y) x f:
|
|
|
|
|
|

|

|
|
|
Next, we emulated different magnitudes of aperture of the lightfield camera. Getting an average of a large number of images over the grid (perpendicular ot the optical axis) gives us more lights and image positions. At a fixed depth of f = 1, we emulated the different aperture sizes as shown below:
|

|
We used the same process on custom images of our own and computed the following results. We created a grid of 5x5 equally spaced points and put an iPhone at each of those point click 25 images of the ceiling. I think this wasn't successful as the change between consecutive images in the grid is a lot more than it should be. The angle also changes between images due to human error and we definitely need more images to get a more focused image.
|
|
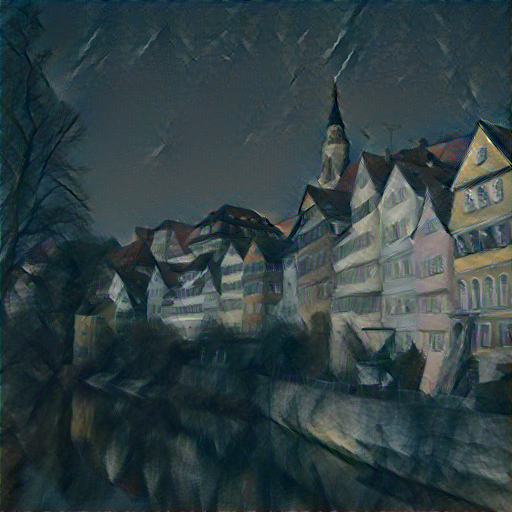
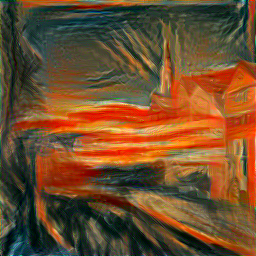
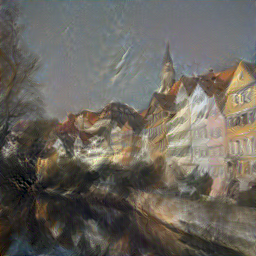
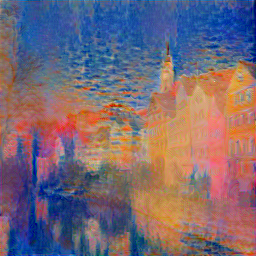
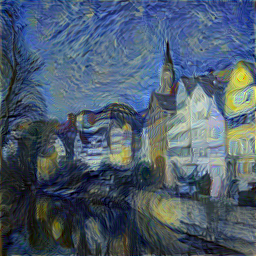
Our final project was the one we found most interesting! In this project we reimplemented this paper) by Leon A. Gatys, Alexander S. Ecker and Matthias Bethge. In essence, we attempted to separate the styles and contents of artworks and apply the stylistic elements of some masterpieces to other images. We achieved this using Convolutional Neural Networks!
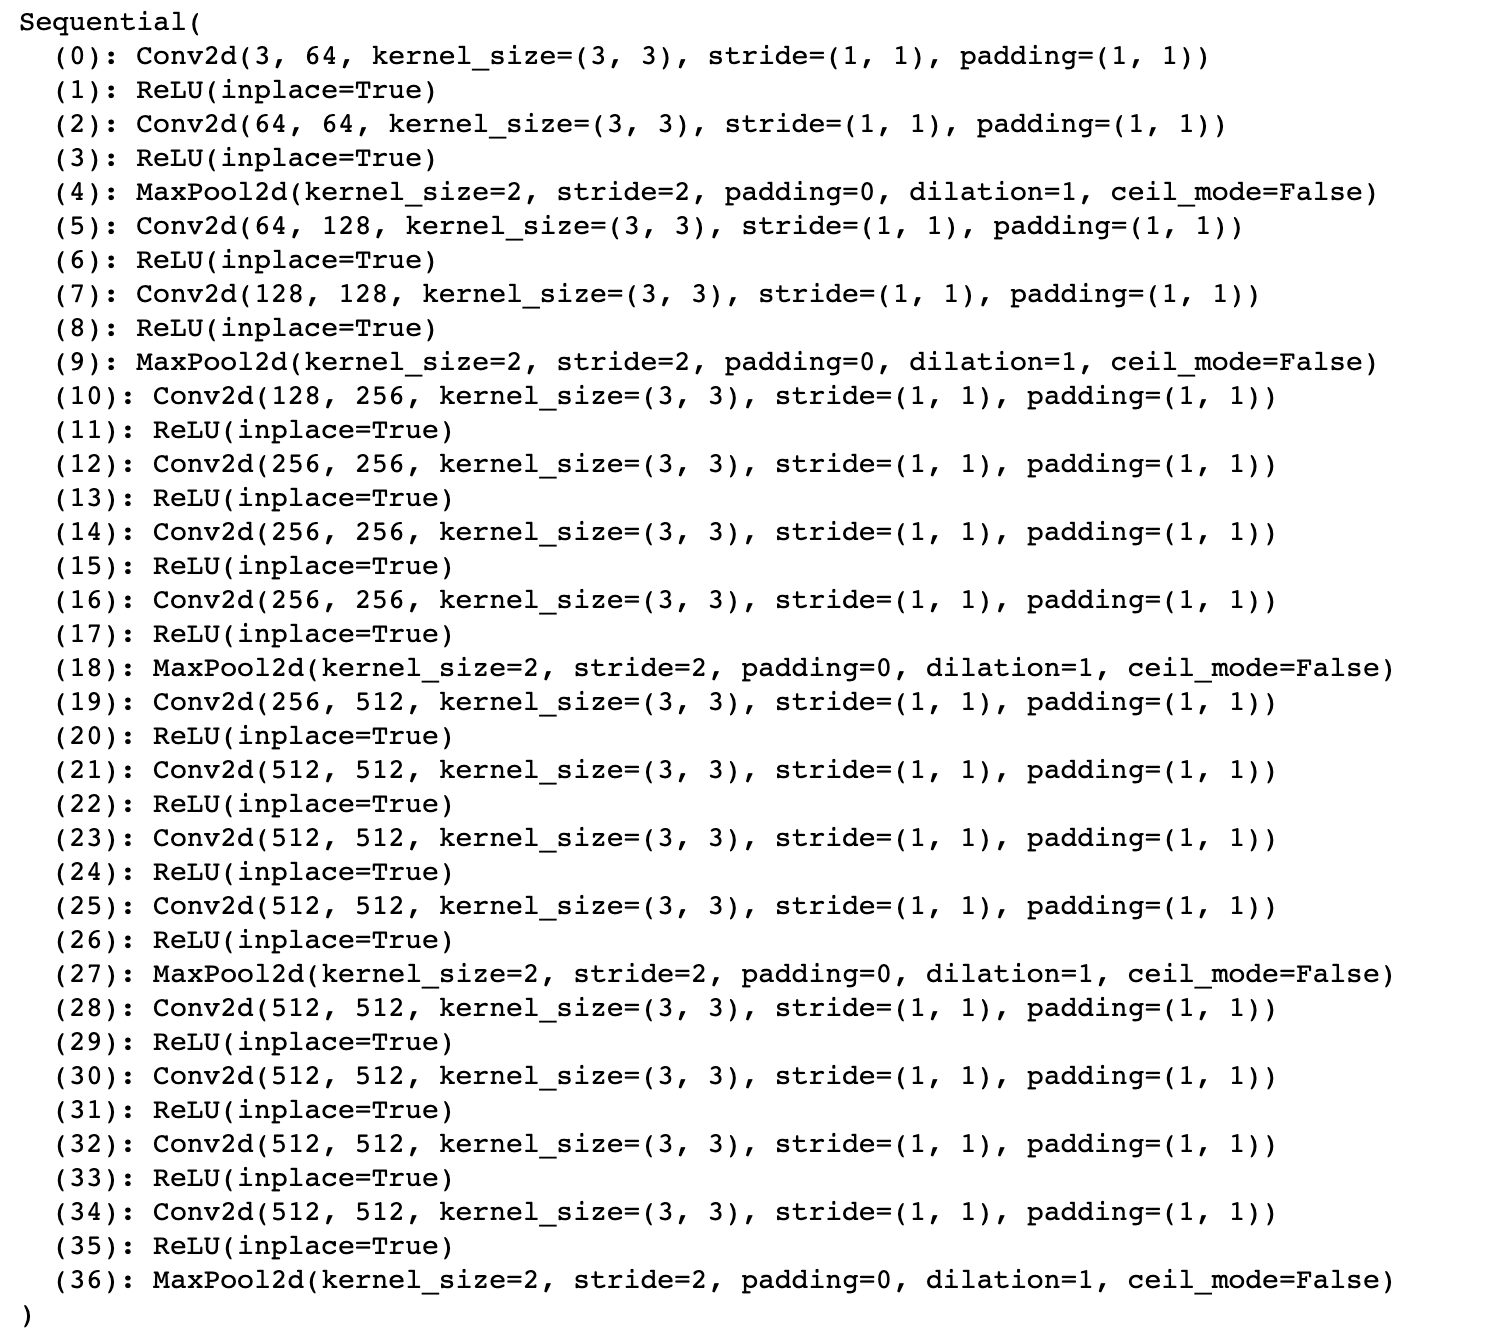
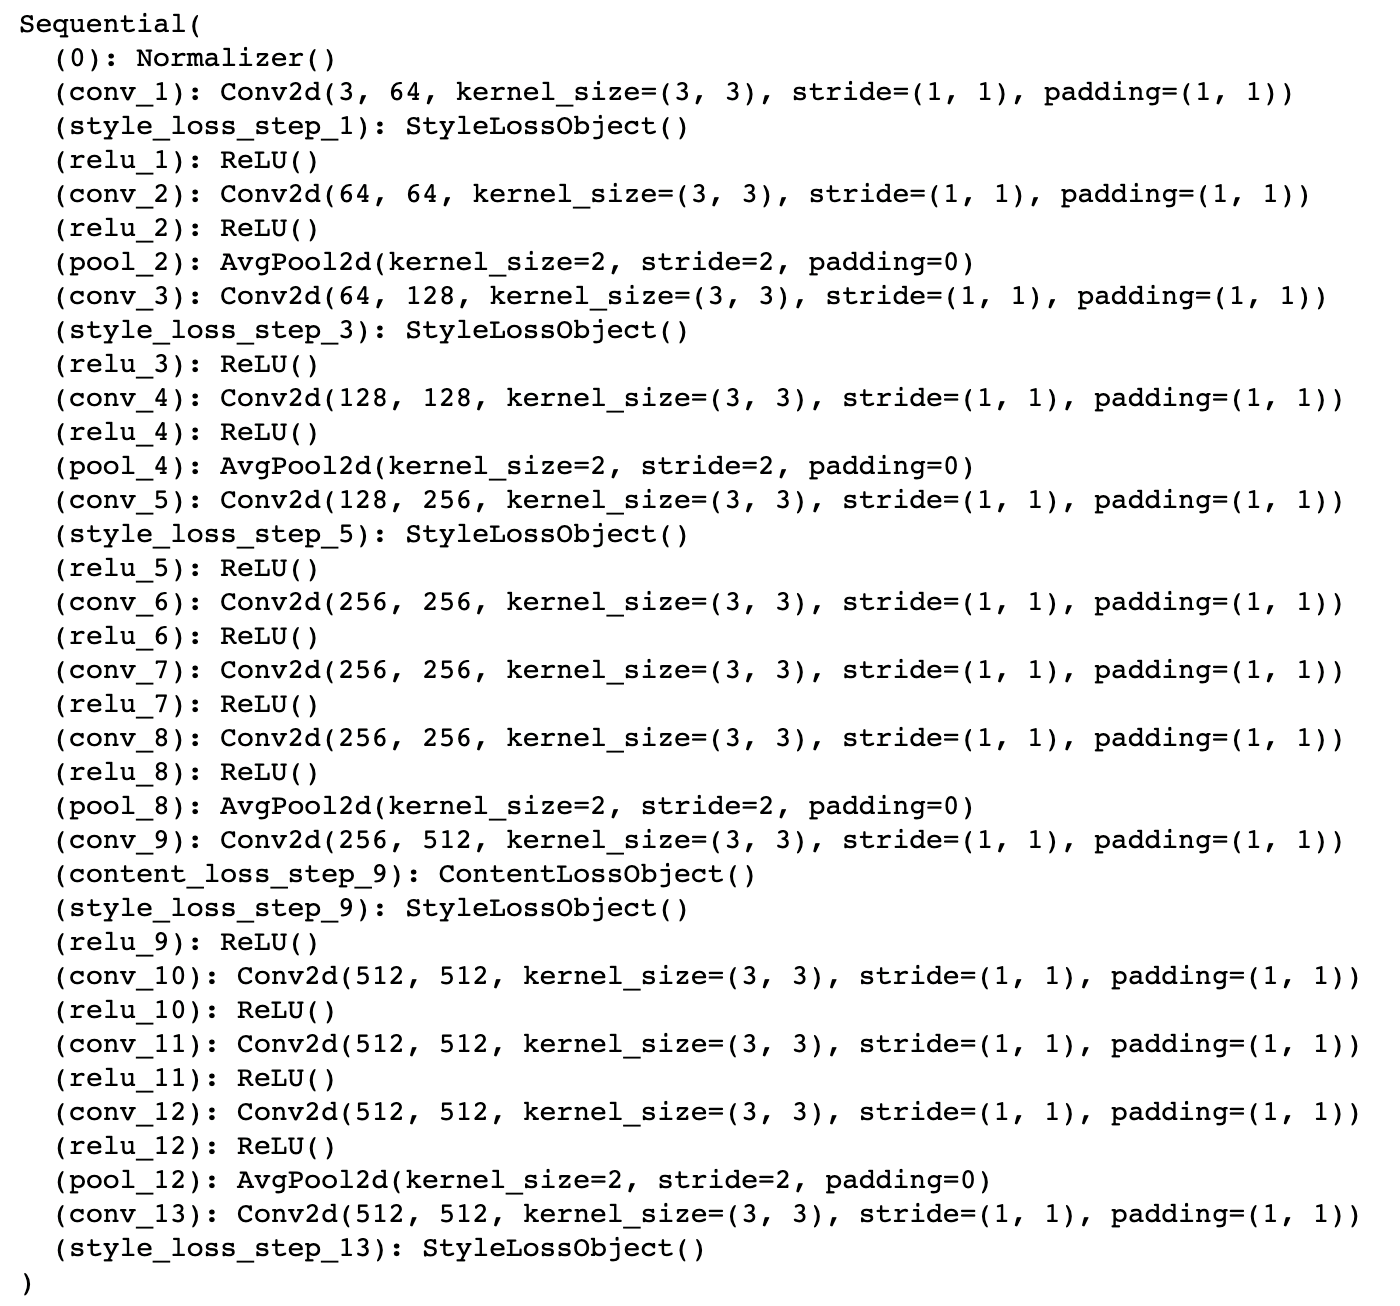
In order to implement this paper we used recommendations in the paper itself to set up the model. We imported the pretrained model VGG-19 which is a 19-layer convolutional neural network which contains five max-pooled layers. We then contextualized and rebuilt the model accounting for style and content loss on (parameter intake) layers.
We differentiated the model significantly by adding a learning rate parameter to the optimizer and optimizing for the ideal learning rate. We experimented with both Average Pooling and Max Pooling and since the VGG-19 model comes with MaxPool layers. We found AveragePooling performs better so we decided to make that a part of the project. For Alpha-Beta weights where alpha is style weight and beta is content weight we modified the paper's directions of using a 1000:1 and instead went with a 1 x 10^7: 1 ratio. We also changed the style loss function to not include a weight on every style layer since we saw this was performing better.
As recommended in the paper, the content layers we used were:
Here is the model below:
|
|
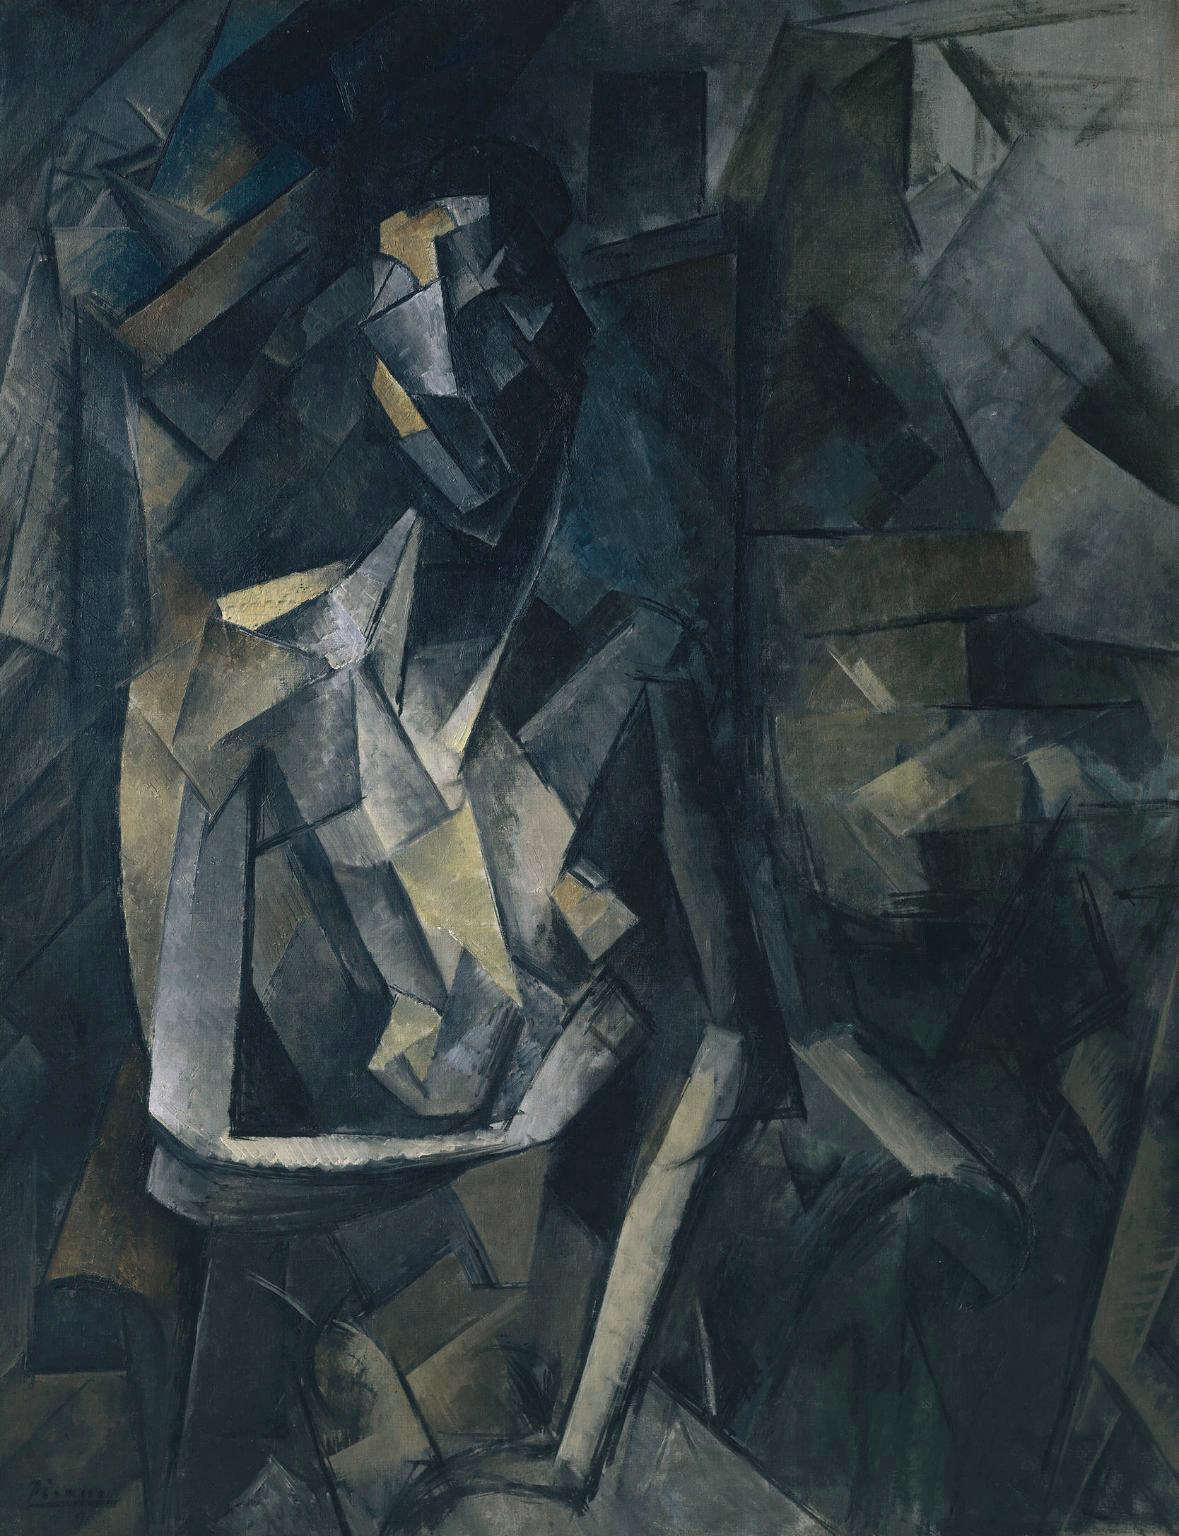
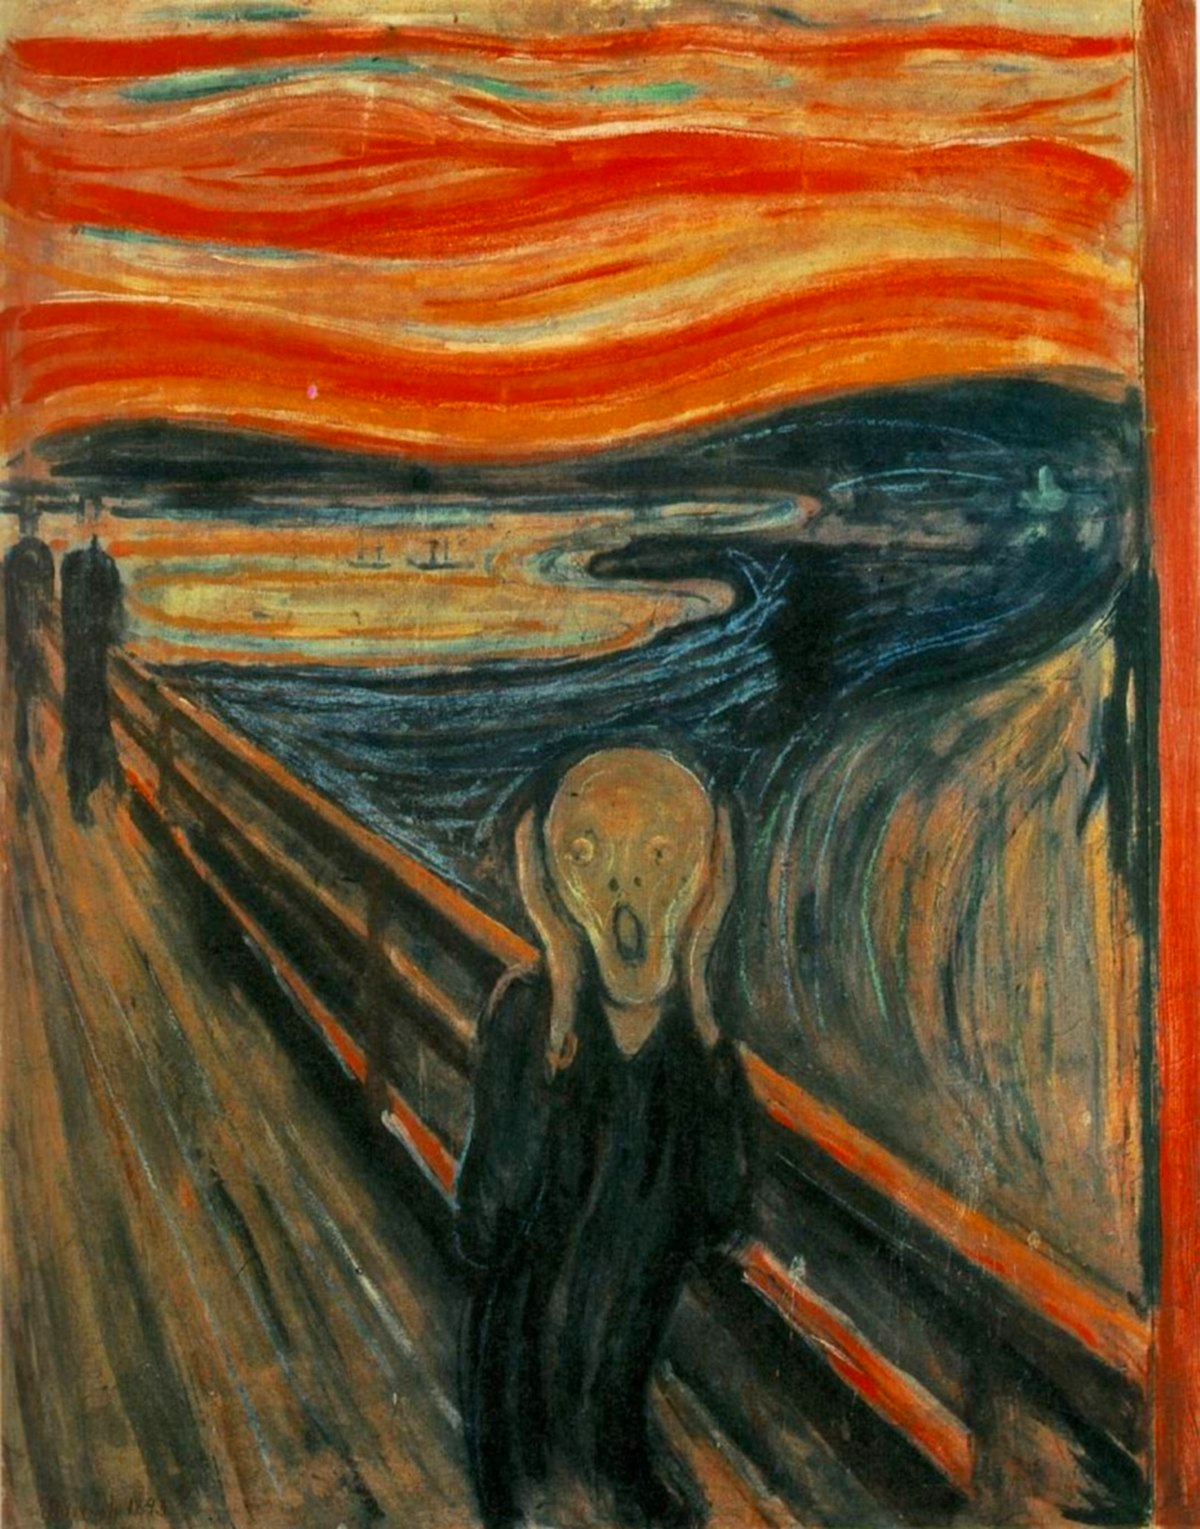
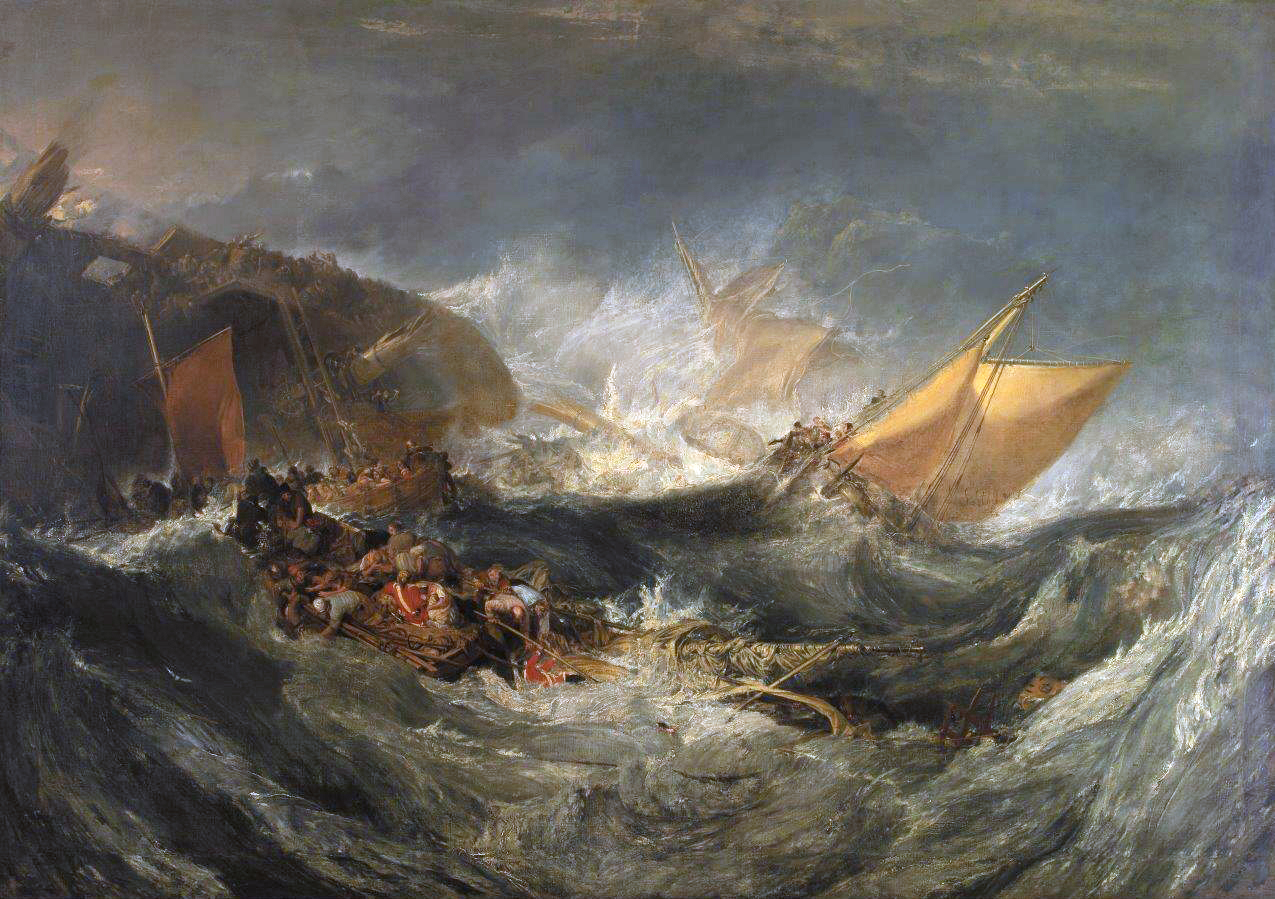
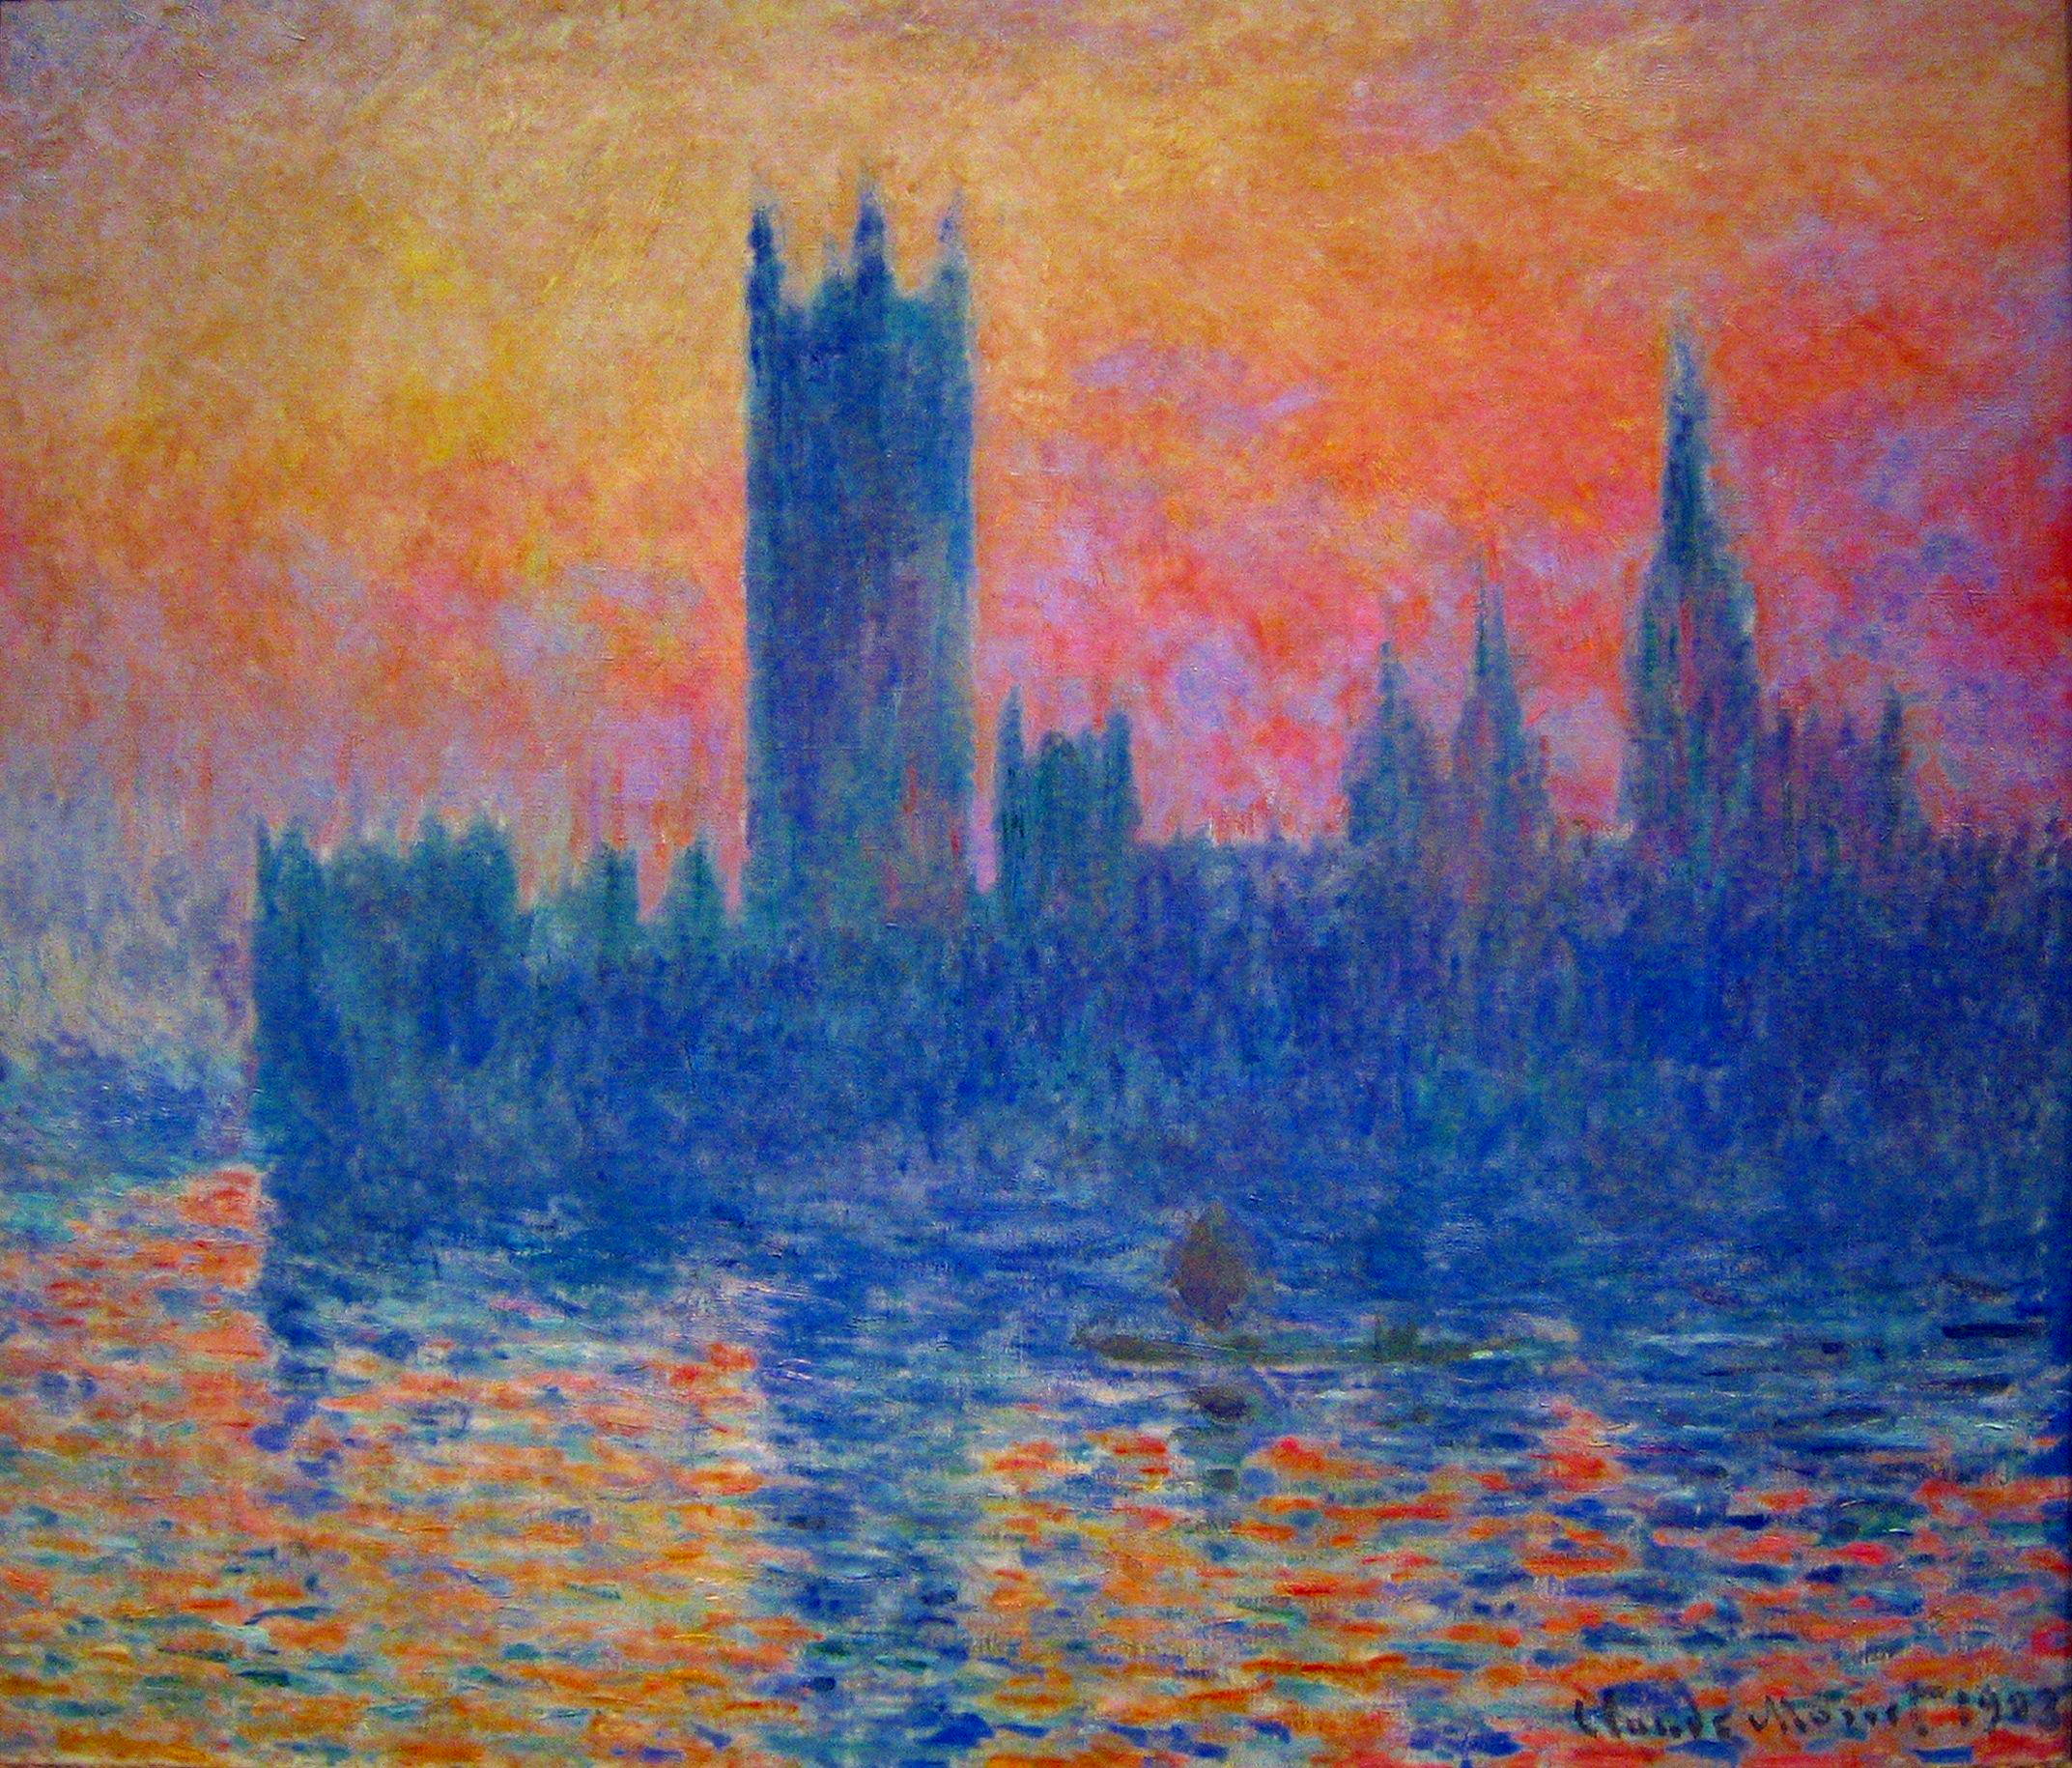
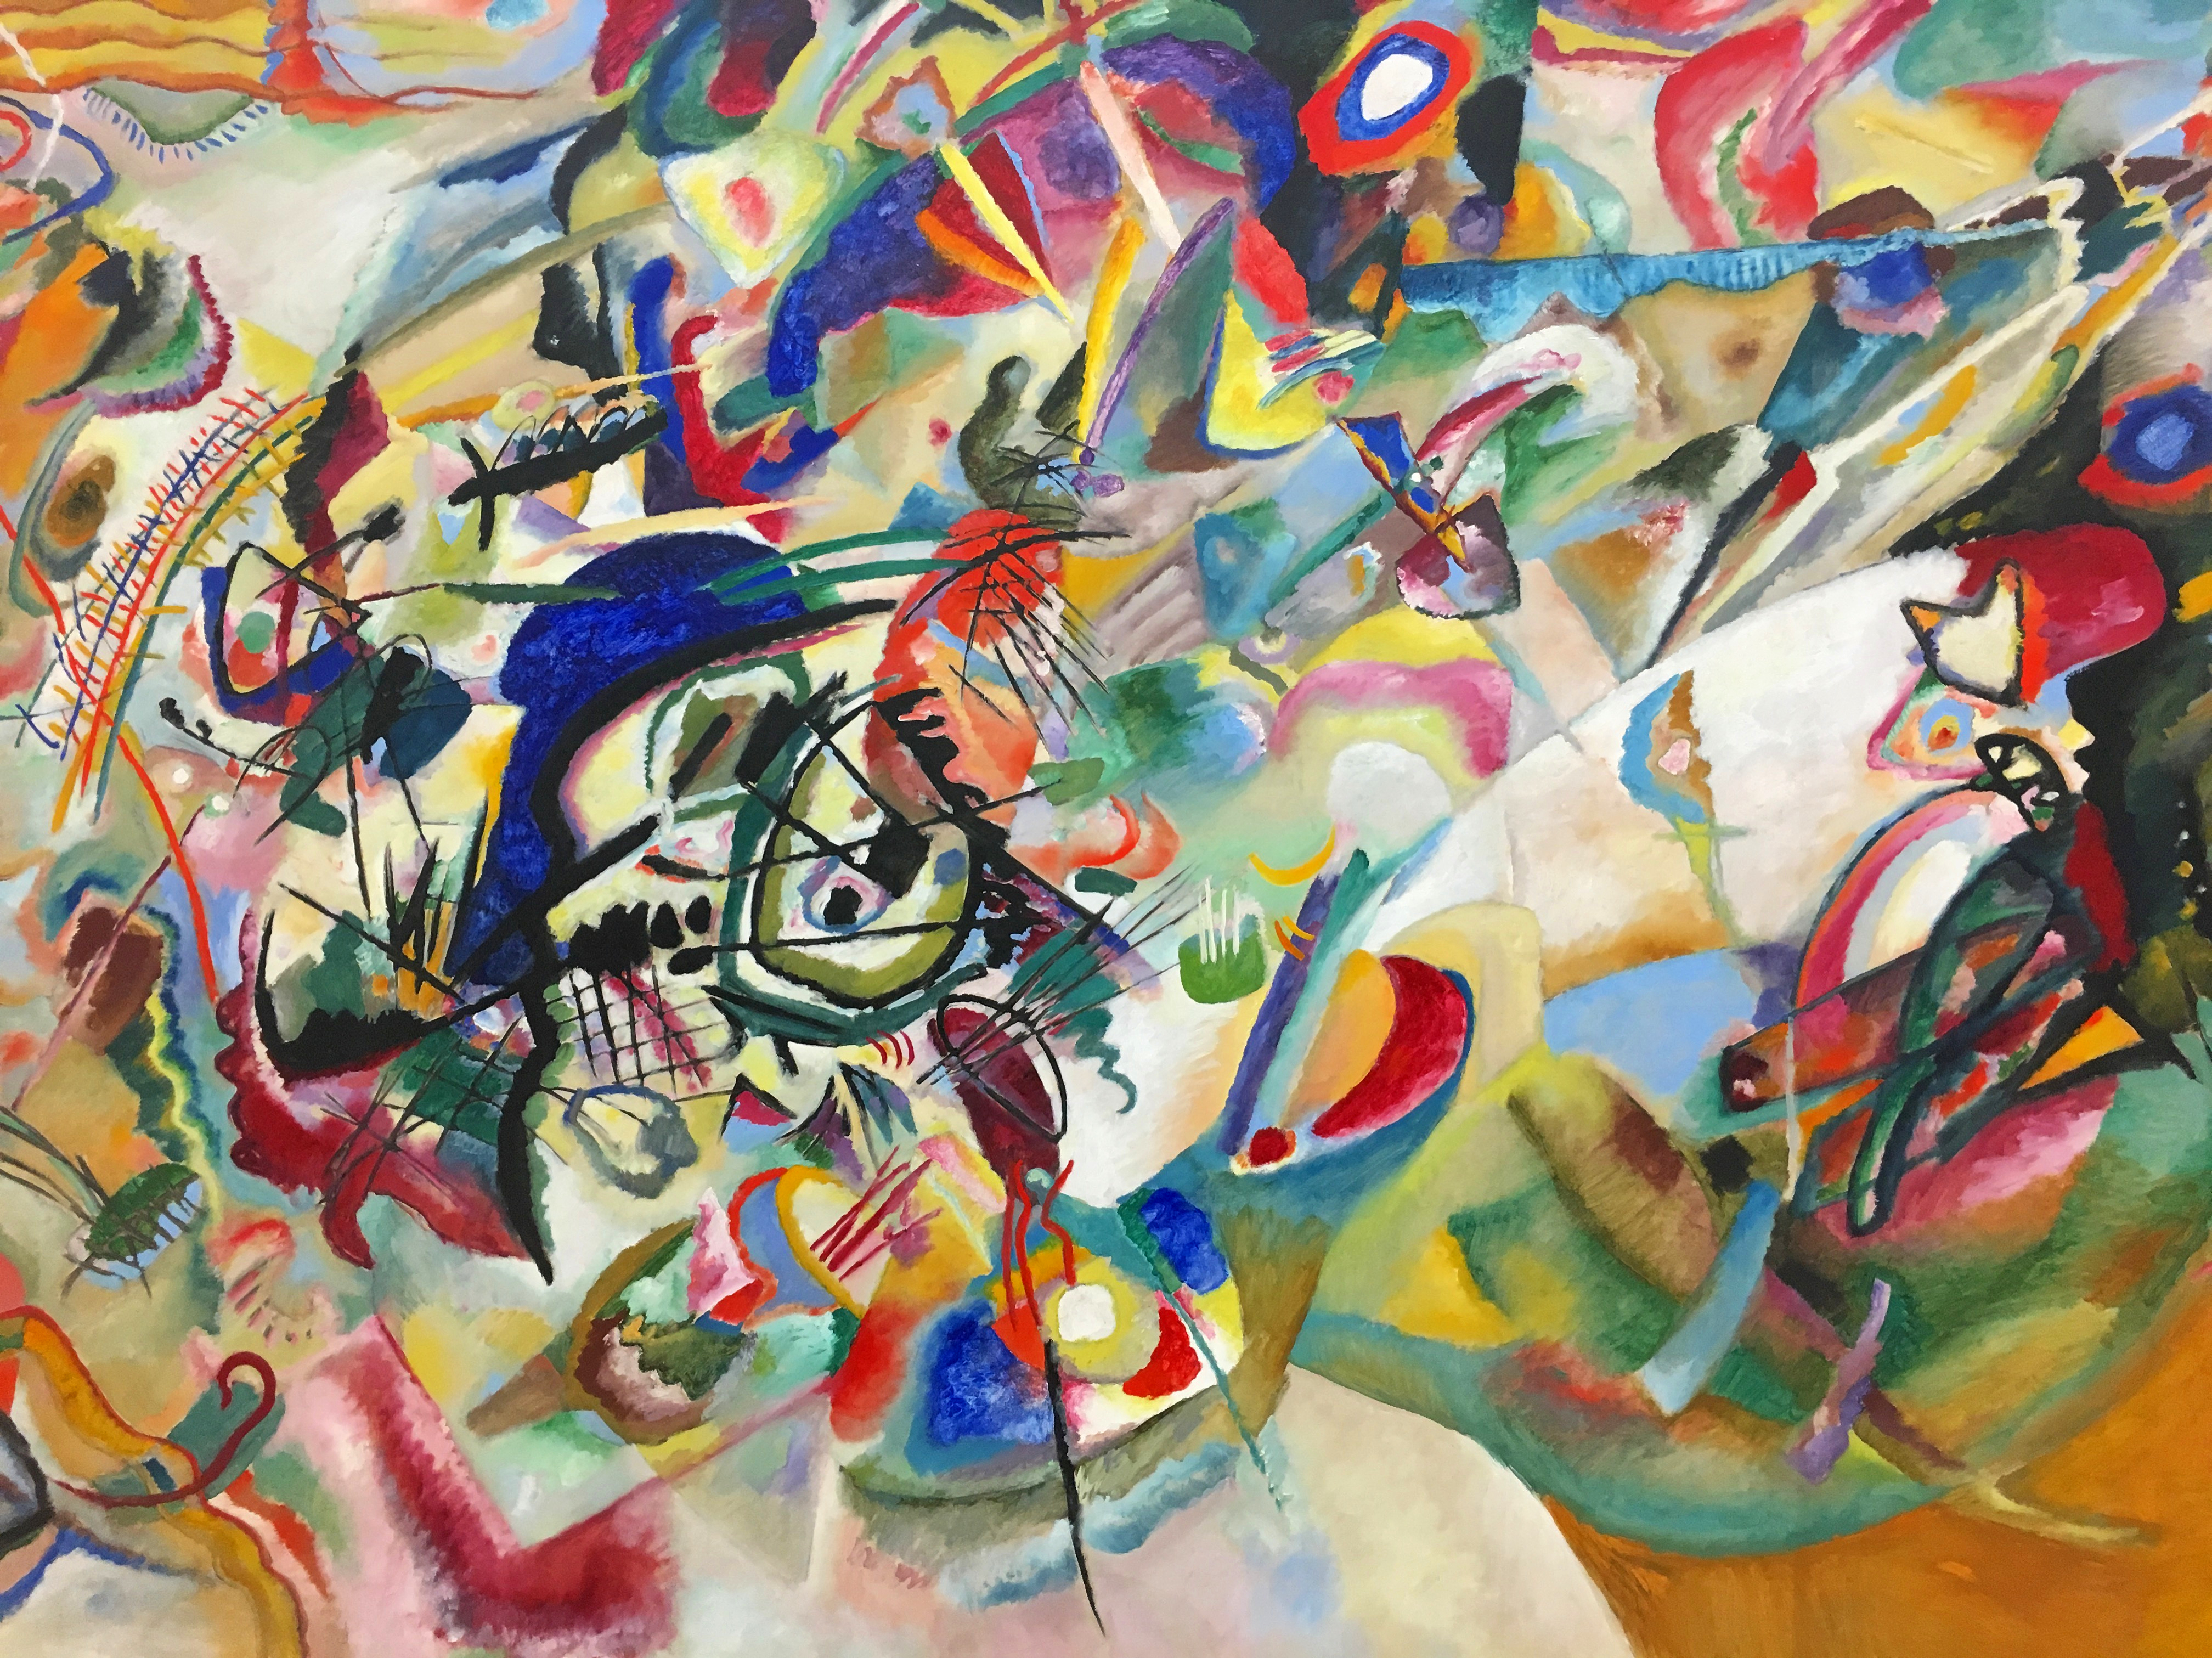
As implemented in the paper we implemented a transfer of the styles of the following papers:
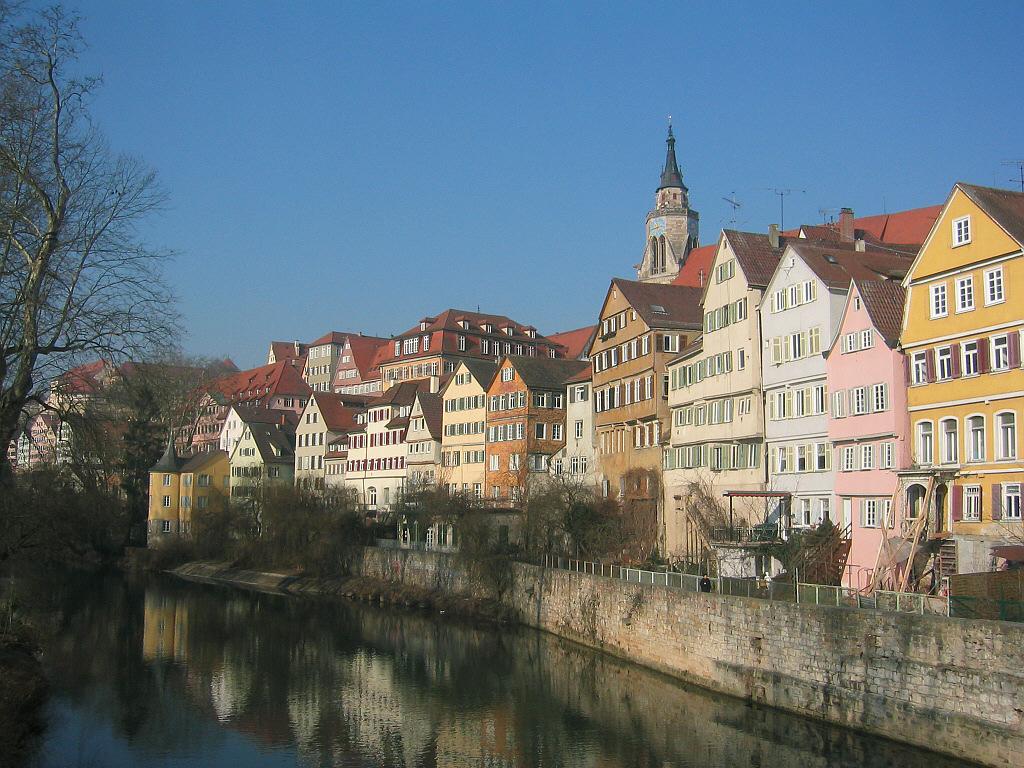
The results are shown below:
|
|
|
|
|
|
|
|

|
|
|
|
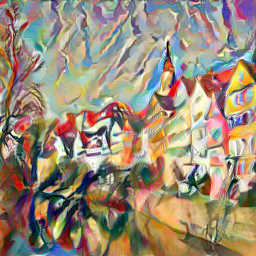
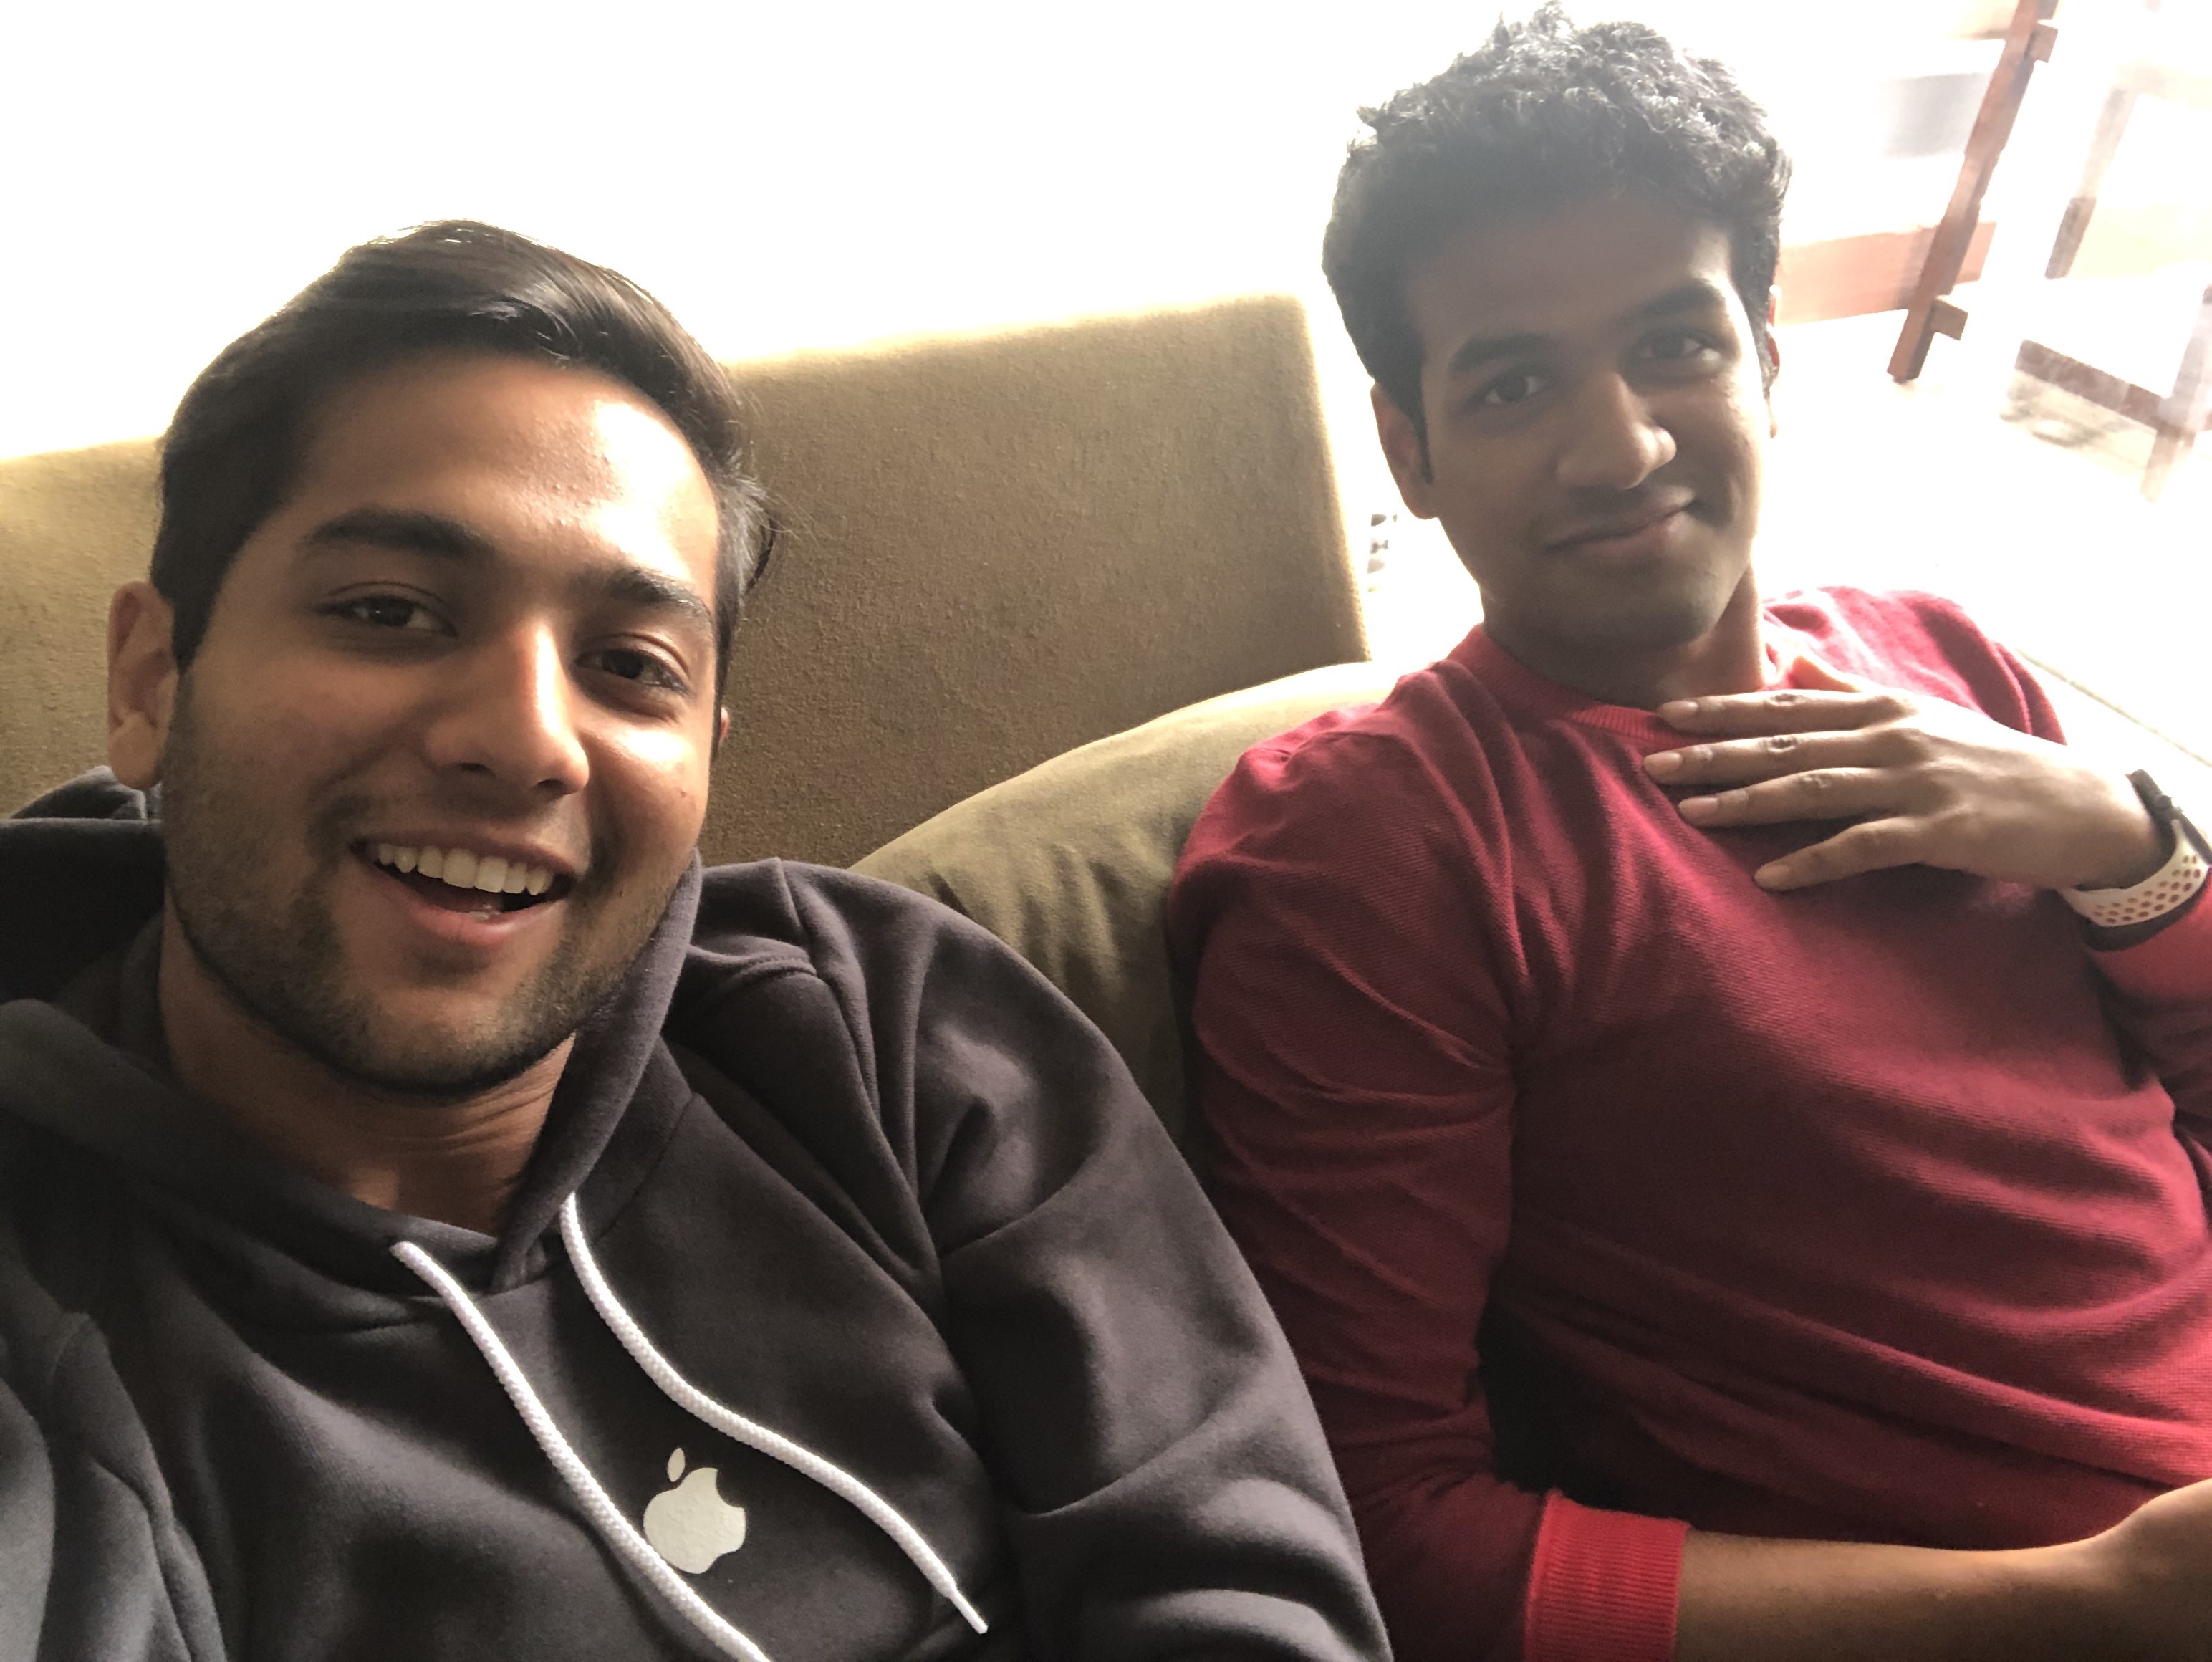
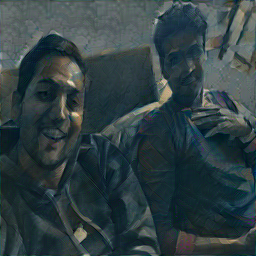
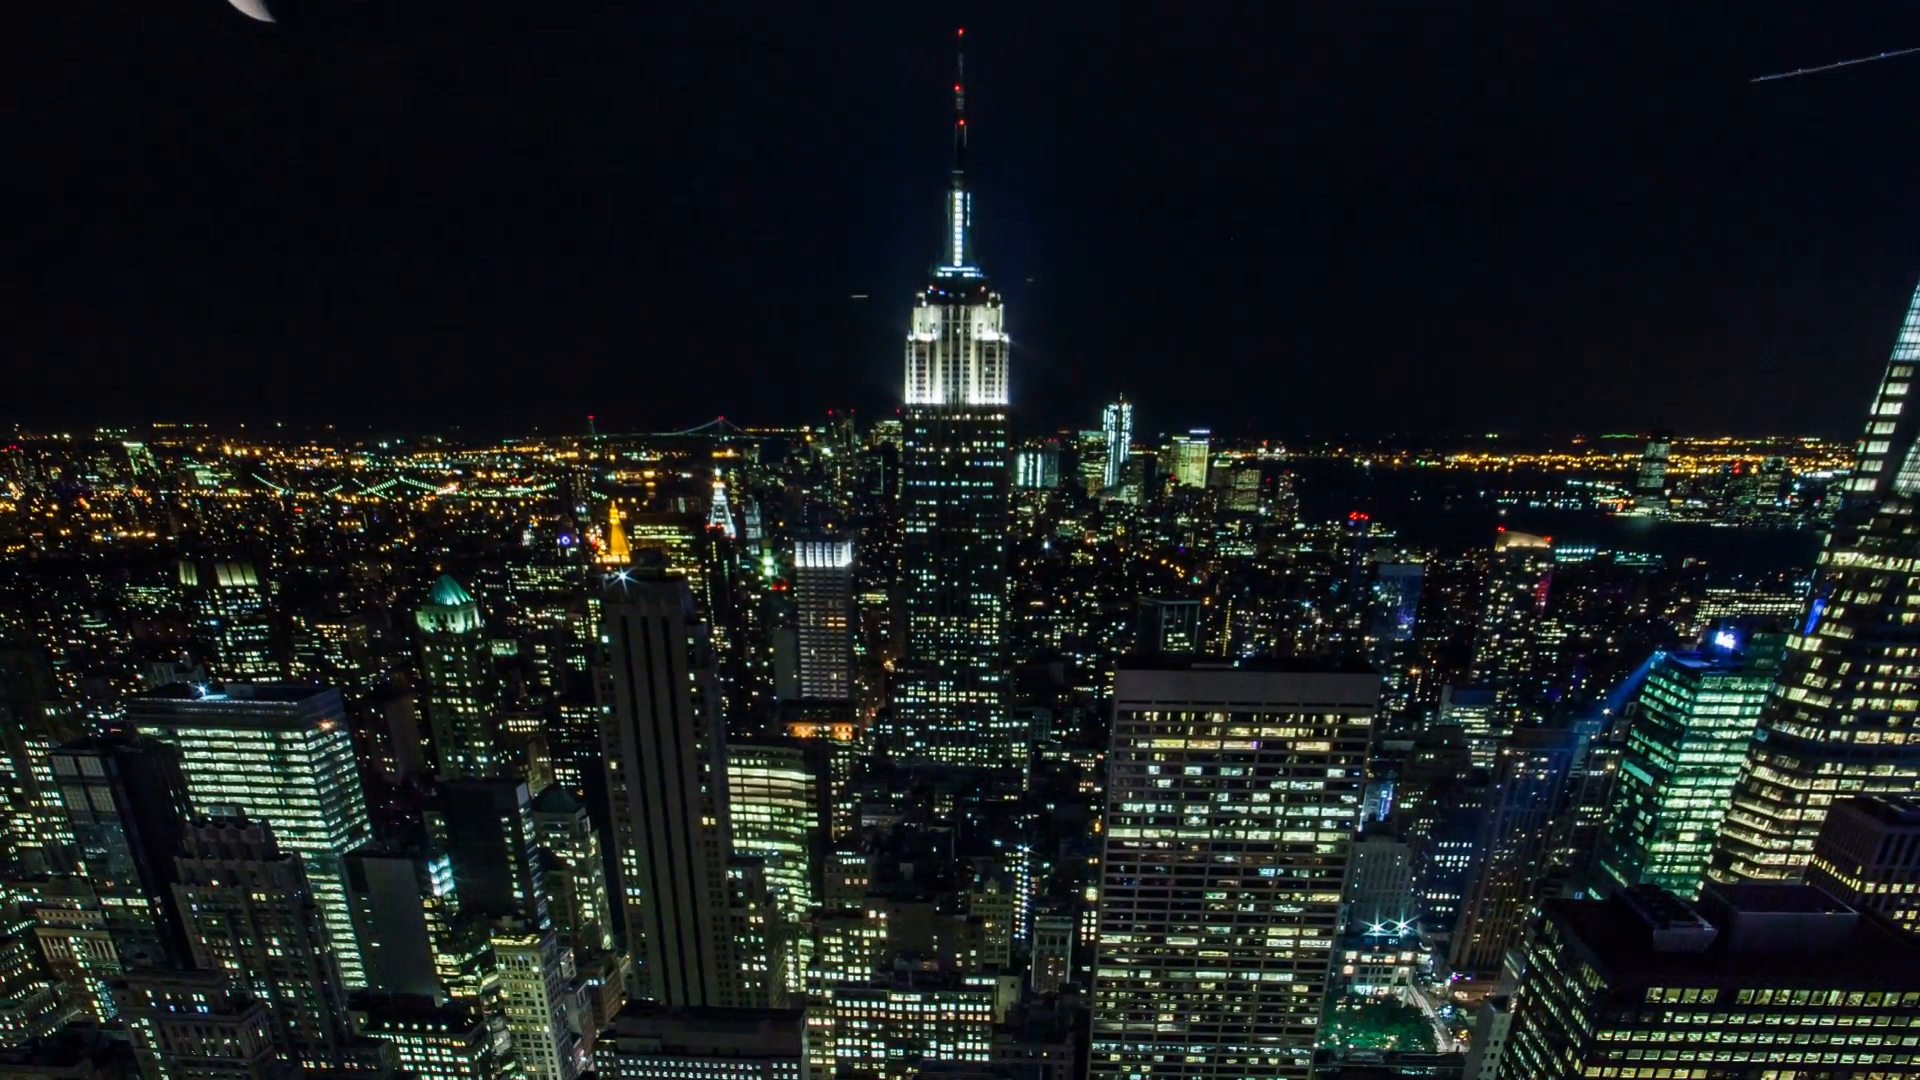
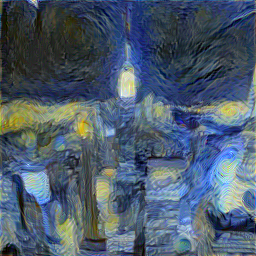
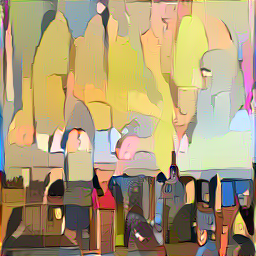
We also implemented this algorithm on the following custom images including one featuring the writers of this Algorithm: Devesh and Yash!
|
|
|
|
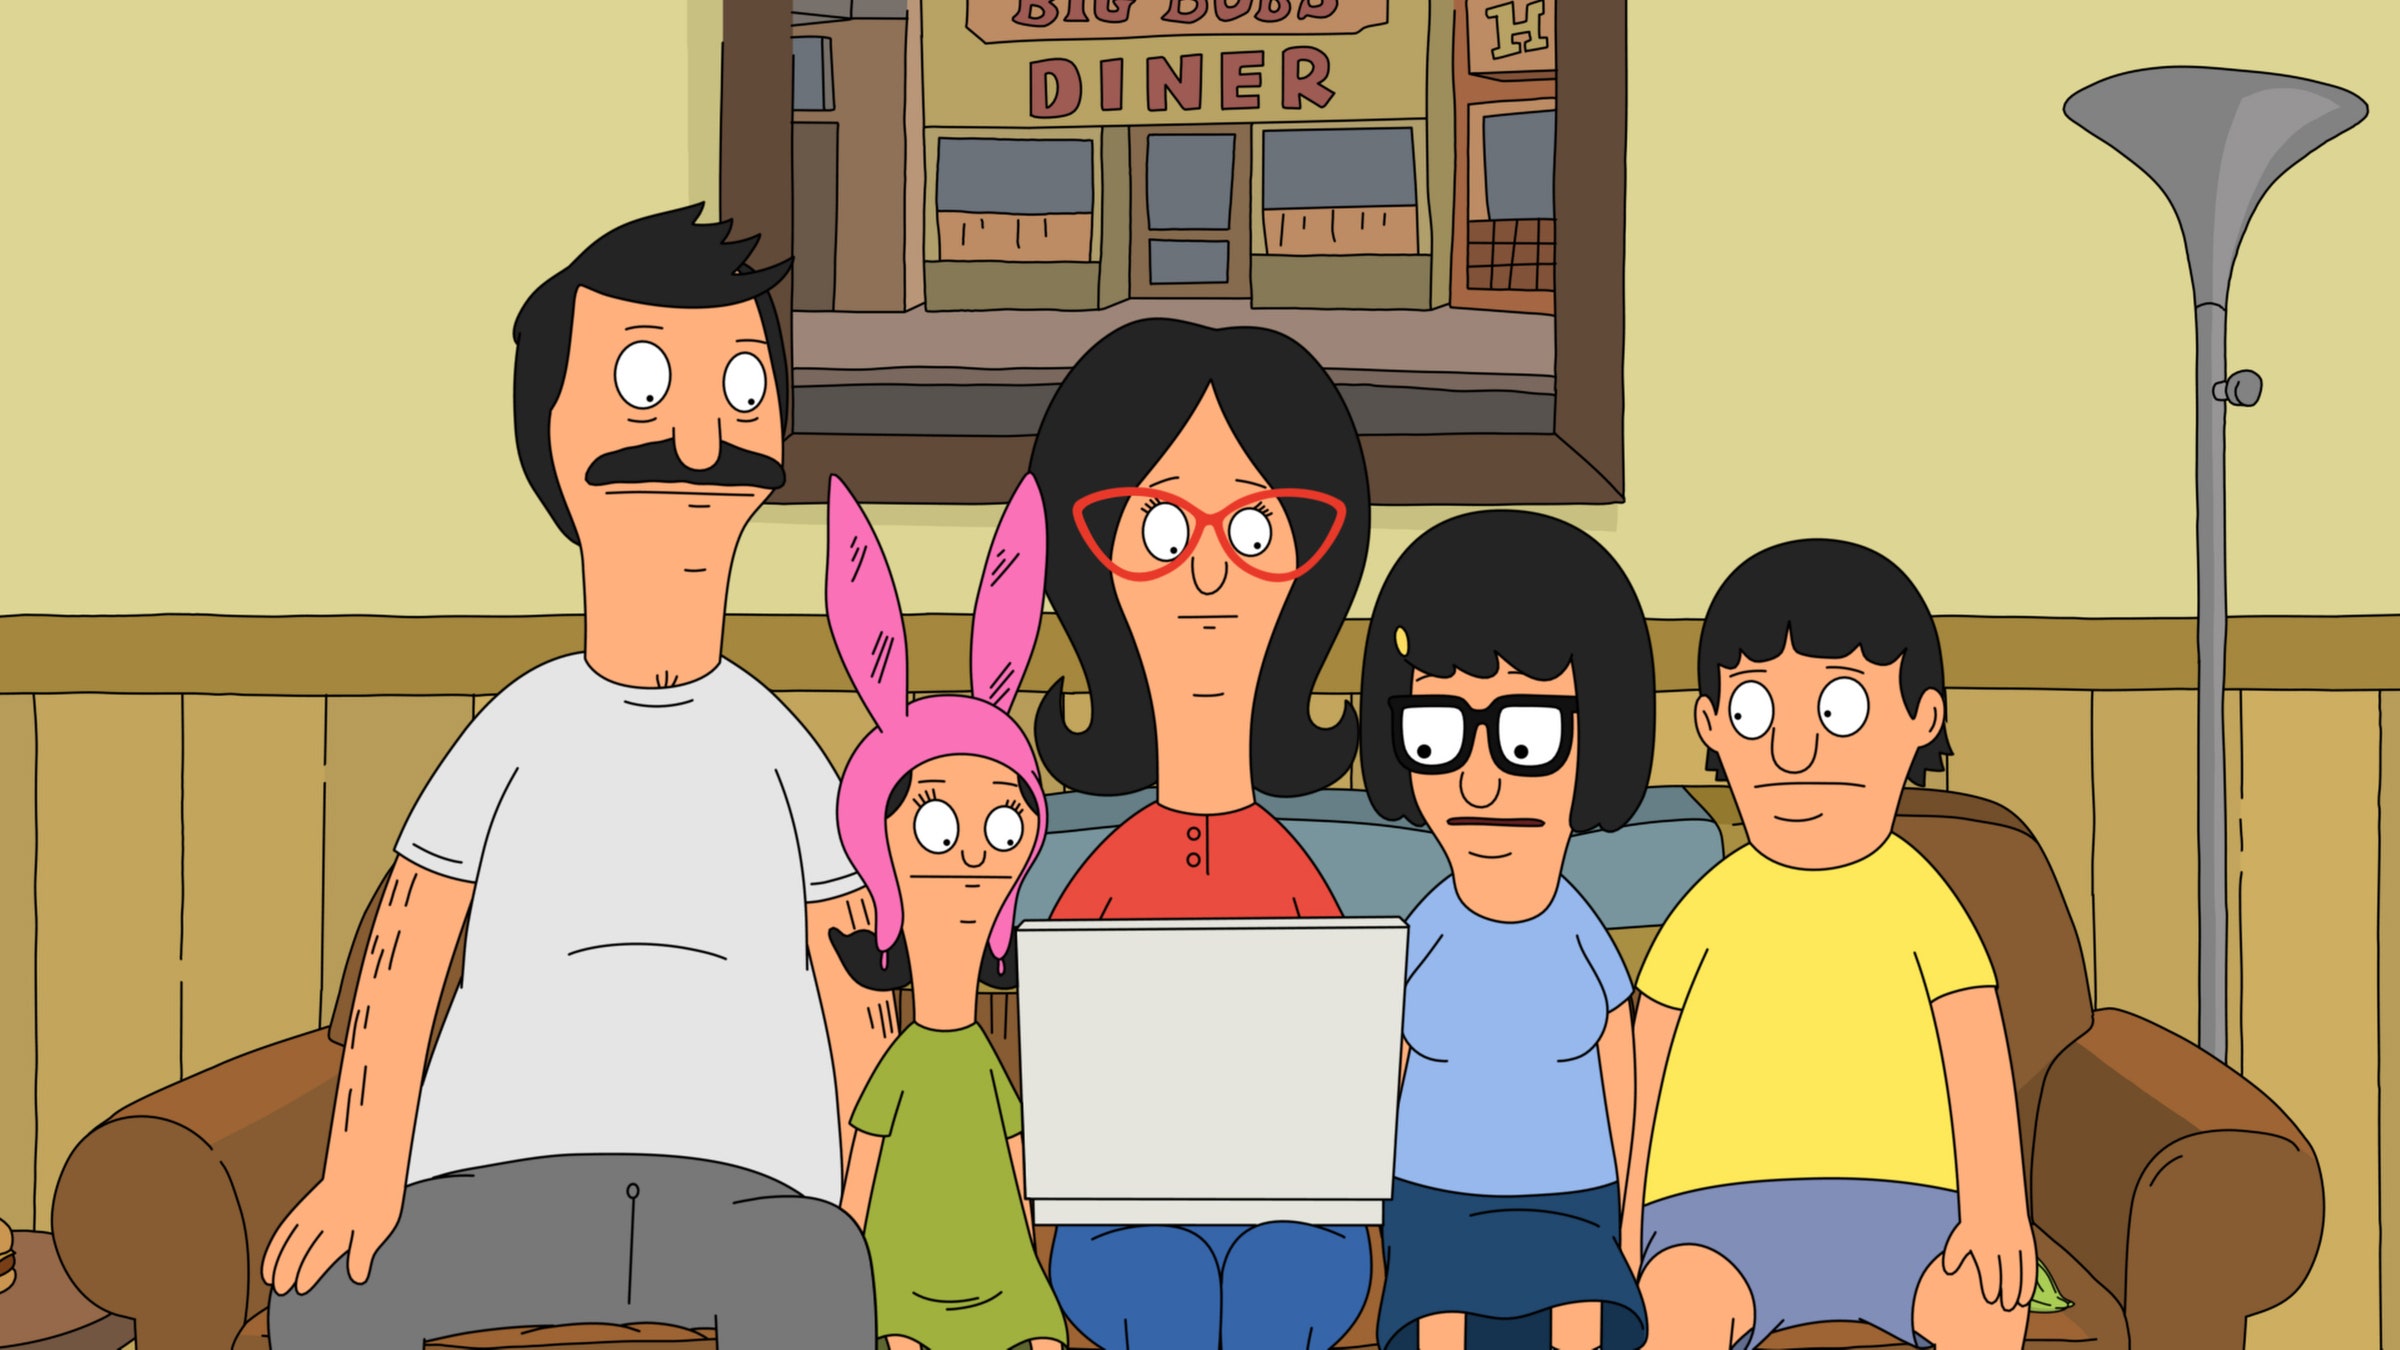
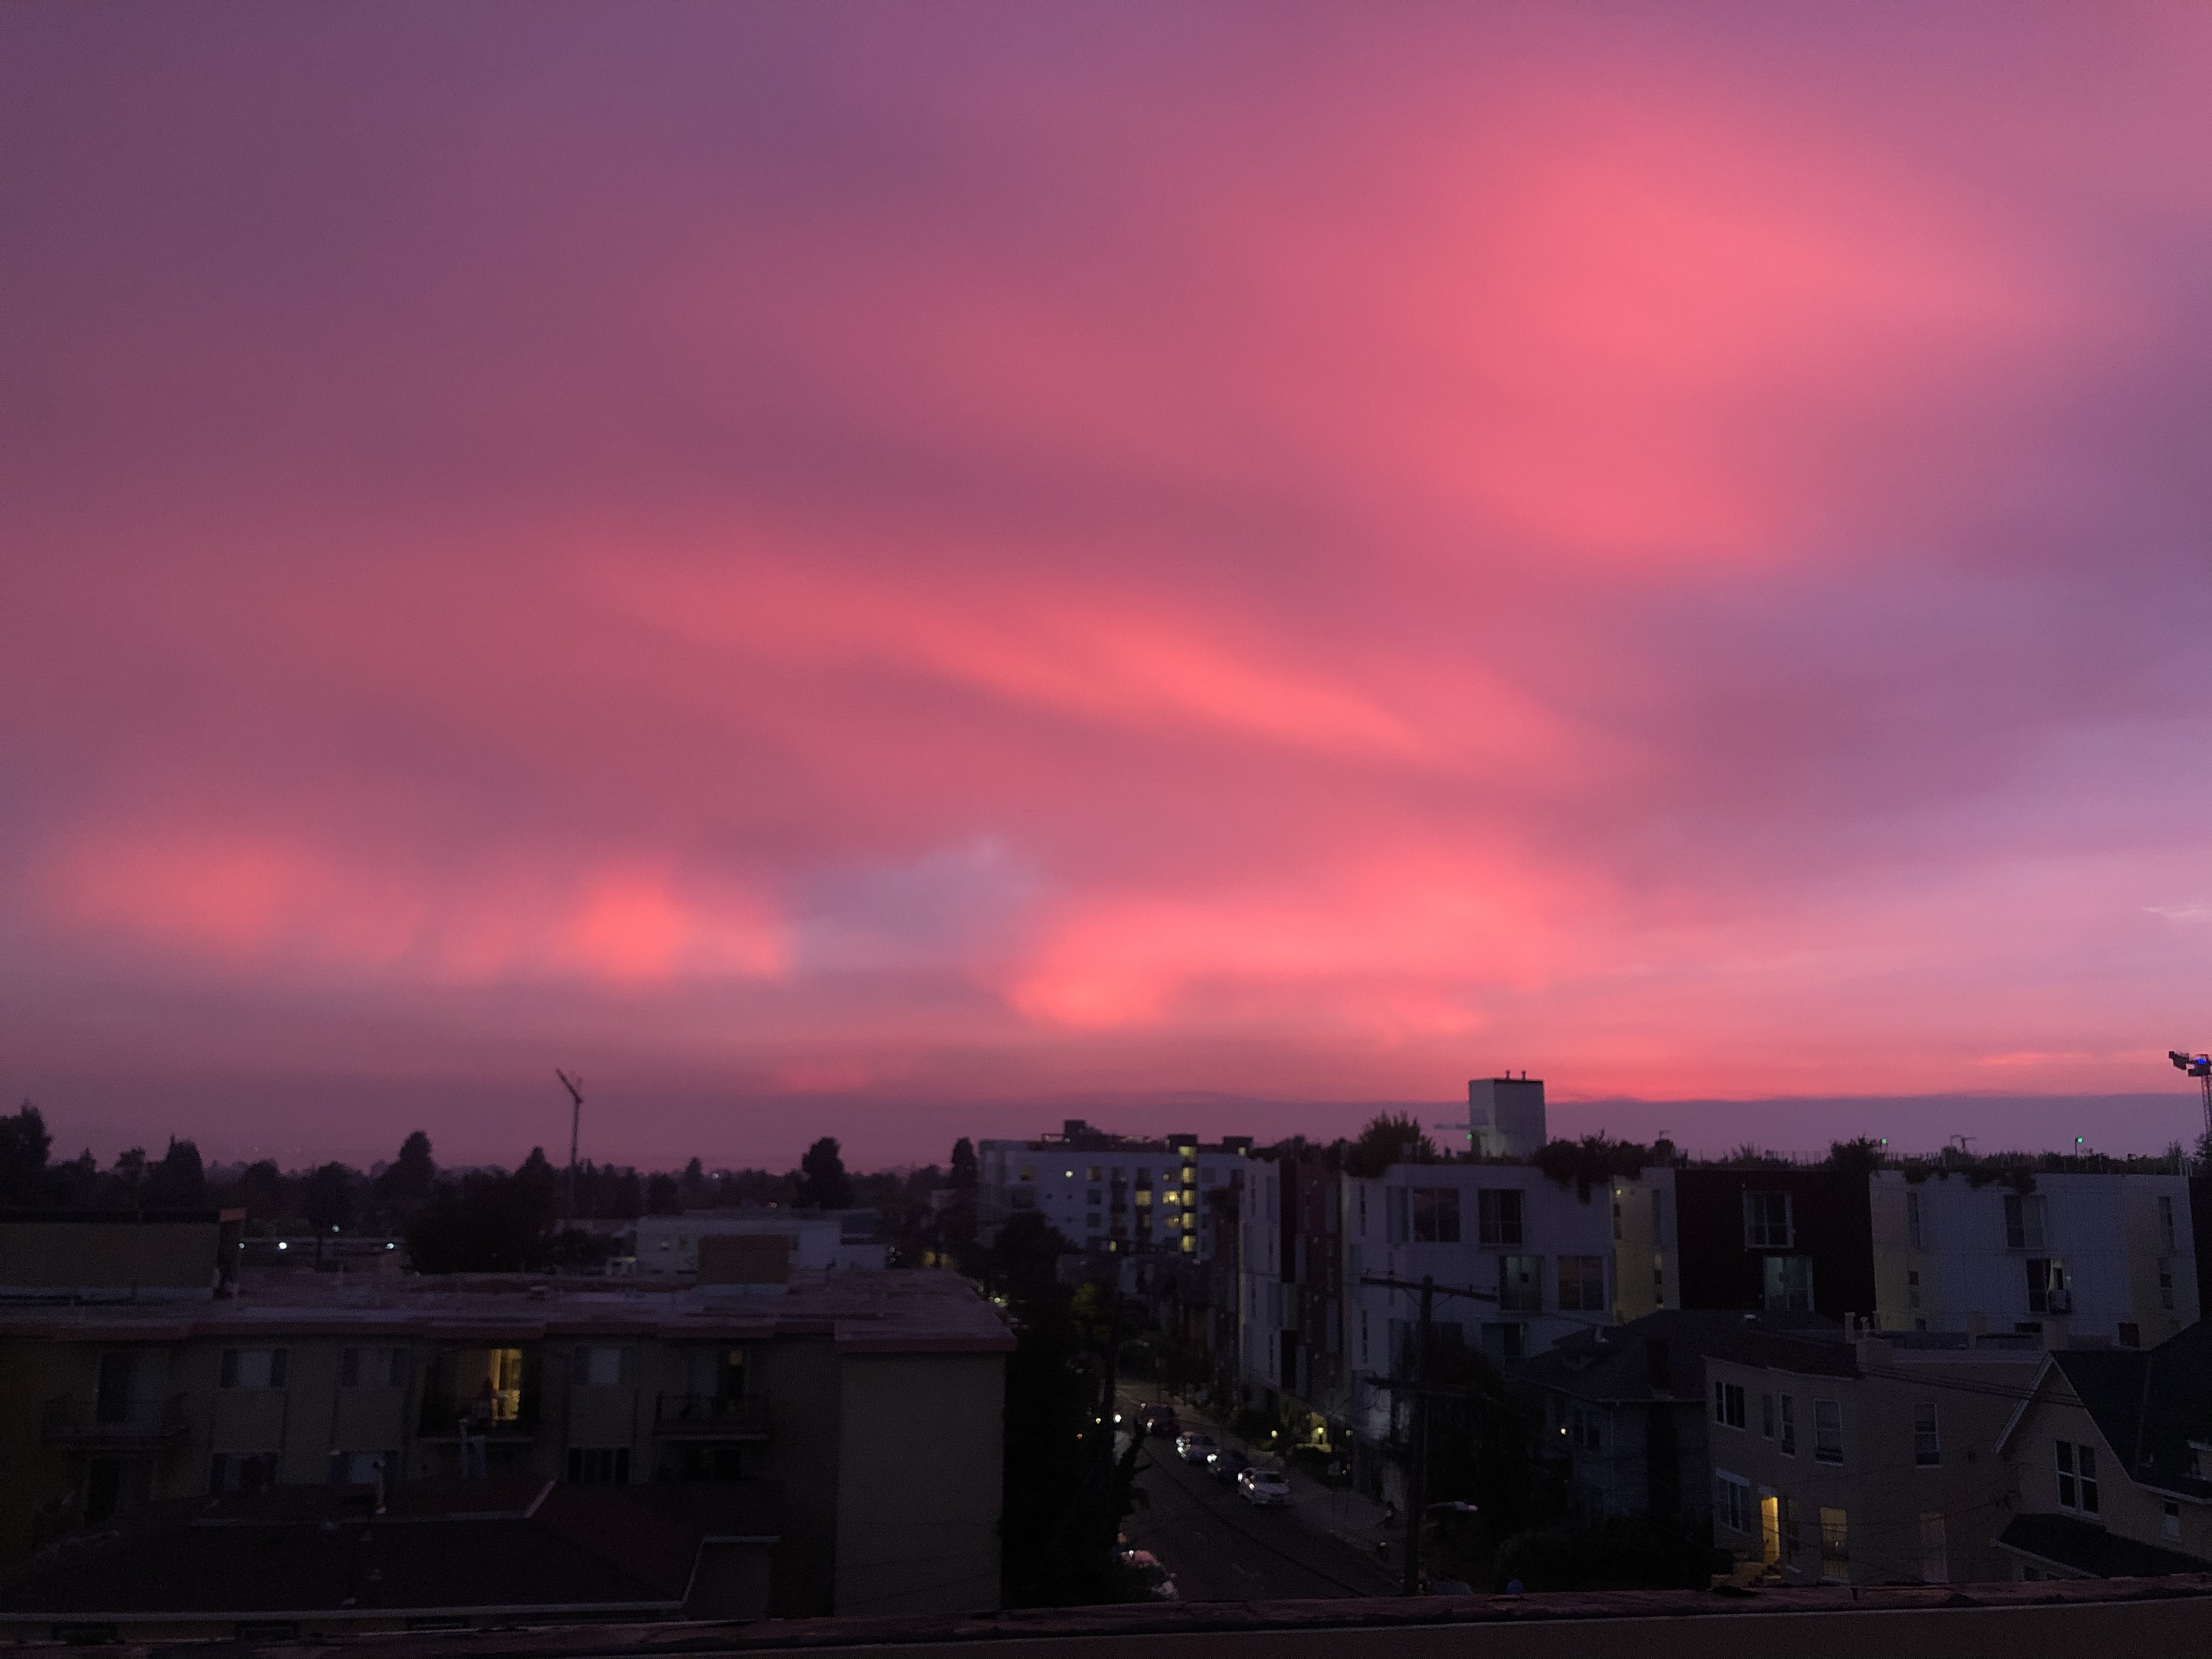
We also had the following failure case. We tried to apply the style of Bob's Burgers (right) to the Sunset image. This was a massive failure likely due to the lack of clear style in our style image and the stark difference in the type of images - one was a characters portrait and the other was bland landscape.
|
|
|